How to Use Soldering Paste: A Comprehensive Guide
Introduction
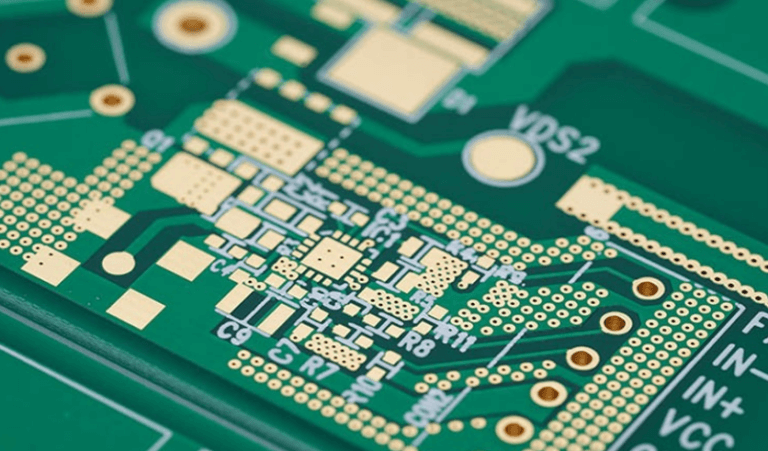
Soldering paste, also known as solder paste, is a crucial material in electronics manufacturing and repair. It is a mixture of tiny solder particles suspended in flux, which helps in bonding metal components during the soldering process. Soldering paste is commonly used in surface-mount technology (SMT) for attaching components to printed circuit boards (PCBs).
Proper use of soldering paste ensures strong electrical connections and prevents defects such as cold joints, bridging, or insufficient solder. This guide will cover everything you need to know about using soldering paste effectively, including preparation, application techniques, reflow soldering, and troubleshooting common issues.
1. Understanding Soldering Paste
Before using soldering paste, it’s essential to understand its composition and properties:
- Solder Alloy Particles: Typically made of tin (Sn), lead (Pb), or lead-free alternatives (e.g., Sn-Ag-Cu).
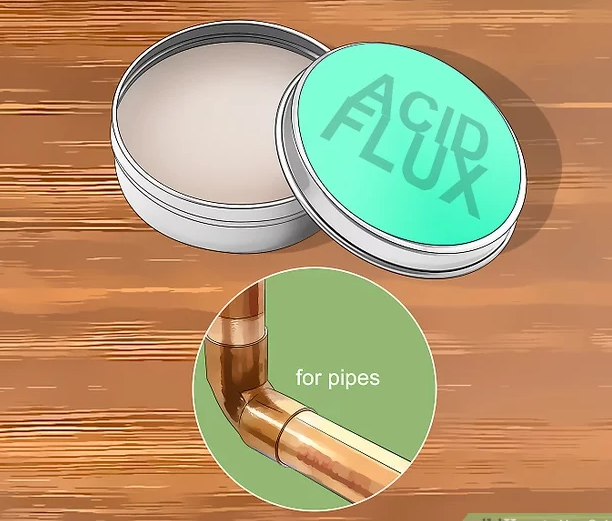
- Flux: A chemical cleaning agent that removes oxidation and promotes solder flow.
- Viscosity: Determines how easily the paste can be applied (thicker pastes are better for stencil printing, while thinner pastes work well for syringe dispensing).
Soldering paste comes in different types:
- Lead-Based (Sn-Pb): Easier to work with but restricted in some regions due to environmental concerns.
- Lead-Free (e.g., SAC305): More challenging to use (higher melting point) but compliant with RoHS regulations.
2. Tools and Materials Needed
To use soldering paste effectively, gather the following tools:
- Soldering Paste (appropriate for your project)
- Solder Stencil (for precise application on PCBs)
- Syringe or Dispensing Needle (for manual application)
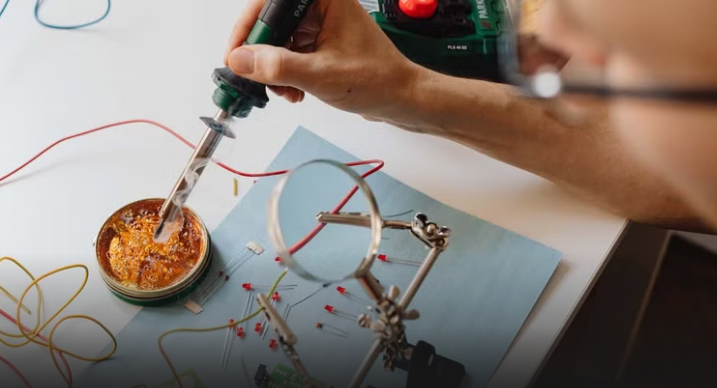
- Soldering Iron or Hot Air Rework Station (for hand soldering)
- Reflow Oven or Hot Plate (for reflow soldering)
- Tweezers (for placing small components)
- Isopropyl Alcohol & Cleaning Brush (for post-soldering cleanup)
- Magnifying Glass or Microscope (for inspecting solder joints)
3. Preparing for Soldering
3.1. Storage and Handling
- Store solder paste in a refrigerator (4–10°C) to extend shelf life.
- Before use, let it warm up to room temperature (about 2–4 hours) to avoid moisture condensation.
- Stir gently (if separated) but avoid excessive mixing to prevent air bubbles.
3.2. PCB and Component Preparation
- Ensure the PCB is clean and free from oxidation or debris.
- If using a stencil, align it precisely over the PCB pads.
- Place surface-mount components nearby for quick placement after paste application.

4. Applying Soldering Paste
There are three primary methods for applying solder paste:
4.1. Stencil Printing (Best for Mass Production)
- Secure the PCB and stencil in a frame or holder.
- Spread solder paste over the stencil using a squeegee (apply even pressure).
- Lift the stencil carefully to leave precise deposits on the PCB pads.
- Inspect for consistency—too little paste causes weak joints, while too much can cause bridging.
4.2. Syringe Dispensing (For Small-Scale or Rework)
- Load solder paste into a syringe with a fine tip.
- Apply small dots or lines onto the PCB pads.
- Adjust dispensing pressure to control the amount of paste.
4.3. Manual Application (For Beginners)
- Use a toothpick or small spatula to place tiny amounts of solder paste on pads.
- Less precise but useful for quick fixes.
5. Placing Components
After applying solder paste:
- Use tweezers to position surface-mount components (resistors, ICs, capacitors) onto the paste-covered pads.
- Ensure proper alignment—misplaced components may cause shorts or open circuits.
- For fine-pitch components (e.g., QFP or BGA chips), a microscope helps with accuracy.
6. Soldering Techniques
6.1. Reflow Soldering (Ideal for SMT)
- Preheat: Gradually heat the PCB to ~150°C to activate flux and remove moisture.
- Soak: Maintain temperature (~180°C) to ensure even heat distribution.
- Reflow: Raise temperature above the solder’s melting point (e.g., 220–250°C for lead-free solder) to form joints.
- Cooling: Allow the board to cool naturally to avoid thermal stress.
6.2. Hand Soldering with a Hot Air Gun
- Use a hot air rework station at 300–350°C with low airflow.
- Apply heat evenly over components until the solder melts and forms shiny joints.
- Avoid overheating, which can damage components.
6.3. Soldering Iron (For Touch-Ups)
- Use a fine tip and low temperature (~300°C).
- Apply minimal pressure to avoid disturbing components.

7. Post-Soldering Inspection and Cleaning
7.1. Visual Inspection
- Check for:
- Bridging (unwanted solder connections between pins).
- Cold Joints (dull, cracked solder due to insufficient heat).
- Tombstoning (components standing upright due to uneven heating).
- Use a magnifying glass for small components.
7.2. Cleaning
- Remove flux residues with isopropyl alcohol and a soft brush.
- Ensure no sticky residue remains, as it can cause corrosion.
8. Common Soldering Paste Issues & Fixes
| Issue | Cause | Solution |
|---|---|---|
| Paste too dry | Improper storage or expired paste | Replace with fresh solder paste |
| Poor adhesion | Dirty PCB pads or old flux | Clean PCB and use fresh paste |
| Solder balls | Excessive paste or rapid heating | Adjust stencil thickness or reflow profile |
| Bridging | Too much paste or misalignment | Use less paste or realign components |
| Cold joints | Insufficient heat | Reheat with proper temperature |
9. Safety Precautions
- Work in a well-ventilated area (flux fumes can be harmful).
- Wear safety glasses to protect against splashes.
- Avoid skin contact with solder paste (some formulations contain irritants).
- Dispose of used solder paste properly (follow local regulations).
10. Conclusion
Soldering paste is a versatile and essential material for electronics assembly. By understanding its properties, applying it correctly, and using appropriate soldering techniques, you can achieve reliable and professional-quality solder joints. Whether you’re working on DIY projects or professional PCB manufacturing, mastering solder paste application will significantly improve your soldering results.
With practice, you’ll be able to troubleshoot common issues and optimize your process for different components and PCB designs. Always prioritize safety and proper storage to maintain solder paste effectiveness. Happy soldering!


