How to Choose the Right PCB Design Software: A Comprehensive Guide
Introduction
Printed Circuit Board (PCB) design is a critical step in electronics development, and selecting the appropriate PCB design software can significantly impact your project’s success. With numerous options available in the market—ranging from free tools to high-end professional suites—making the right choice requires careful consideration of multiple factors. This 2000-word guide will walk you through the essential aspects to consider when selecting PCB design software that best fits your needs.
Understanding Your Requirements
1. Project Complexity
The first step in choosing PCB design software is assessing your project’s complexity:
- Simple projects: Basic single or double-layer boards with few components
- Medium complexity: Multi-layer boards with moderate component counts
- High complexity: High-speed digital designs, RF circuits, or complex mixed-signal boards
Low-complexity projects might not require expensive professional tools, while advanced designs will need sophisticated software with proper simulation capabilities.
2. Design Frequency
Consider how often you’ll be designing PCBs:
- Occasional use: Hobbyists or students might prefer free or low-cost options
- Regular use: Professionals should invest in more robust solutions
- Enterprise-level production: Requires high-end tools with collaboration features
3. Team Collaboration Needs
If you’re working in a team:
- Look for software with version control integration
- Consider cloud-based collaboration features
- Evaluate license management for multiple users
Key Features to Evaluate
1. Schematic Capture
- Intuitive interface for creating circuit diagrams
- Comprehensive component libraries
- Hierarchical schematic design capabilities
- ERC (Electrical Rule Checking) functionality
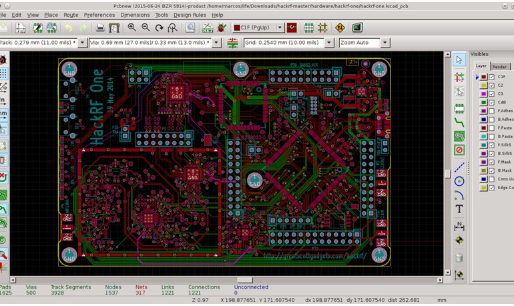
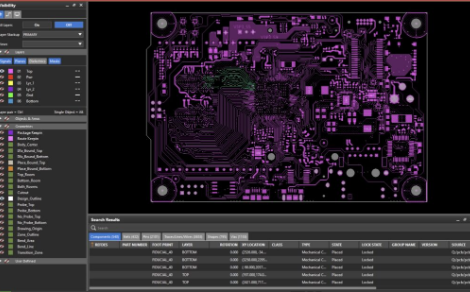
2. PCB Layout Tools
- Support for various board sizes and layers
- Advanced routing options (manual, automatic, semi-automatic)
- Design rule checking (DRC) capabilities
- 3D visualization and collision detection
3. Component Management
- Built-in component libraries
- Ability to create custom components
- Integration with component distributors
- Management of footprints and 3D models
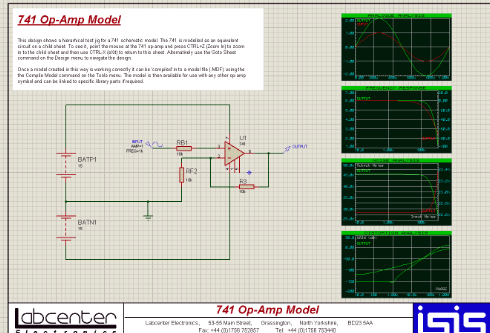
4. Simulation and Analysis
- SPICE simulation for circuit verification
- Signal integrity analysis
- Power integrity analysis
- Thermal analysis tools
5. Manufacturing Outputs
- Standard output formats (Gerber, Excellon, ODB++)
- BOM (Bill of Materials) generation
- Assembly drawings and documentation
- DFM (Design for Manufacturing) checks
Types of PCB Design Software
1. Free and Open-Source Options
Examples: KiCad, gEDA, Fritzing
- Pros: No cost, community support, cross-platform
- Cons: Limited features, smaller component libraries, less technical support
2. Low-Cost Professional Tools
Examples: DesignSpark PCB, DipTrace, EasyEDA
- Pros: Affordable, good feature set, suitable for small businesses
- Cons: May have limitations on board size or layers
3. Mid-Range Professional Solutions
Examples: Altium Designer (standard version), Cadence OrCAD, Autodesk Eagle
- Pros: Comprehensive features, good support, industry recognition
- Cons: Higher cost, steeper learning curve
4. High-End Enterprise Solutions
Examples: Cadence Allegro, Mentor Xpedition, Zuken CR-8000
- Pros: Advanced features, excellent support, handles complex designs
- Cons: Very expensive, requires significant training
Technical Considerations
1. Operating System Compatibility
- Windows (most commercial tools are Windows-only)
- macOS (limited options available)
- Linux (mainly open-source tools)
2. Hardware Requirements
- Processor speed and cores
- RAM requirements
- Graphics capabilities (especially for 3D rendering)
- Storage space for libraries and projects
3. File Format Compatibility
- Import/export capabilities with other tools
- Version compatibility
- Standard format support (Gerber, STEP, etc.)
4. Integration with Other Tools
- MCAD (Mechanical CAD) integration
- Version control systems (Git, SVN)
- PLM/PDM systems
- Simulation tools
Non-Technical Factors
1. Budget Constraints
- Initial purchase cost
- Subscription vs. perpetual license
- Upgrade costs
- Training expenses
2. Learning Curve
- Availability of tutorials and documentation
- Community support
- Formal training options
- Time investment required
3. Vendor Support and Updates
- Quality of technical support
- Frequency of updates
- Bug resolution time
- Roadmap of future features
4. Industry Standards and Compatibility
- Compliance with industry standards
- File format compatibility with manufacturers
- Recognition in your specific industry sector
Specialized Requirements
1. High-Speed Design
- Signal integrity analysis
- Impedance calculation tools
- Length matching capabilities
2. RF/Microwave Design
- Electromagnetic simulation
- Specialized RF components
- Transmission line modeling
3. Flexible PCBs
- Support for flexible layers
- Bend radius calculations
- 3D folding simulations
4. Power Electronics
- Thermal analysis
- High-current routing capabilities
- Large component support
Evaluation Process
1. Create a Shortlist
Based on your requirements, identify 3-5 potential candidates.
2. Download Trials
Most vendors offer free trials (typically 15-30 days).
3. Test with Real Projects
Create a small but representative project to evaluate:
- Schematic entry
- PCB layout
- Output generation
- Any specialized features you need
4. Evaluate Performance
- Software responsiveness
- Stability and crash frequency
- Resource usage
5. Check Community and Support
- Forum activity
- Documentation quality
- Response time for support queries
Migration Considerations
If switching from another tool:
- Check import/export capabilities
- Evaluate learning curve for your team
- Consider simultaneous licensing during transition
- Plan for data migration of libraries and templates
Future-Proofing Your Choice
Consider:
- Vendor’s financial stability
- Software’s development roadmap
- Industry trends and emerging technologies
- Scalability for future needs
Conclusion
Selecting the right PCB design software requires balancing multiple factors including technical requirements, budget constraints, and future needs. While professional-grade tools offer the most features, they may be overkill for simple projects. Conversely, free tools might save money initially but could limit your capabilities as your projects grow in complexity.
The best approach is to:
- Clearly define your current and anticipated needs
- Research available options thoroughly
- Test top candidates with real-world scenarios
- Consider both technical and non-technical factors
- Plan for future growth and changing requirements
Remember that the “best” PCB design software is the one that most effectively meets your specific requirements while remaining within your budget and skill level. Investing time in proper evaluation upfront will pay dividends throughout your design process, resulting in better PCBs, fewer redesigns, and more efficient workflows.
By carefully considering all these aspects, you’ll be well-equipped to make an informed decision that will serve your PCB design needs for years to come.

