Flex pcb diy
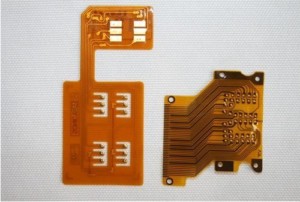
However, here are some steps you can follow if you want to try making a flex PCB DIY:
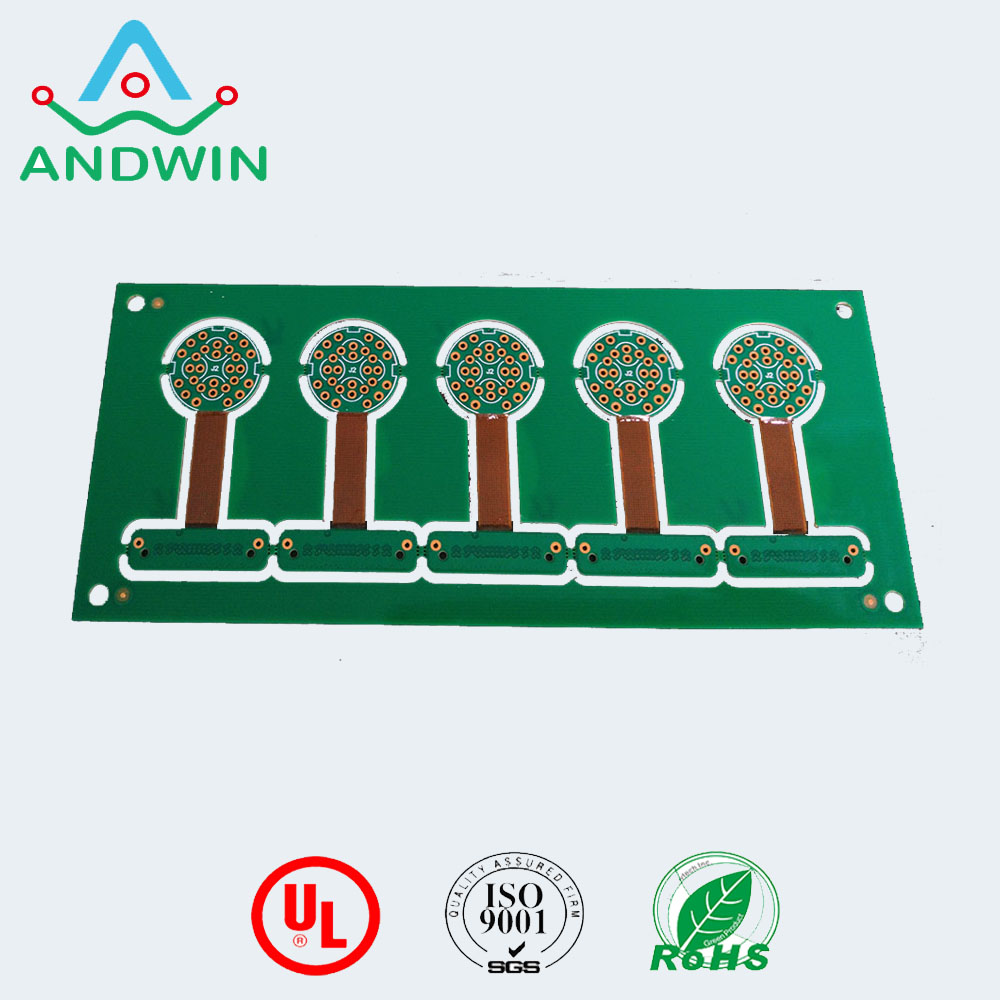
1. Design your flex PCB using a PCB design software. Make sure to include the appropriate layers for the flexible circuit.
2. Print your design onto a transparency film using a laser printer.
3. Cut a piece of copper-clad flexible PCB material to the size of your design.
4. Clean the copper surface using a fine-grit sandpaper or a copper cleaner.
5. Place the transparency film onto the copper surface and use a laminator to transfer the toner onto the copper.
6. Soak the copper in a ferric chloride solution to etch away the unwanted copper.
7. Use a drill to make holes for the components and vias.
8. Solder the components onto the flex PCB.
9. Test the circuit using a multimeter.
Note: This is a simplified version of the process, and making a flex PCB DIY can be challenging and requires specialized equipment and materials.
It is recommended to consult a professional or use a PCB manufacturing service for more complex designs.


