Mastering Double Sided PCB Soldering Techniques and Tips

Key Takeaways
Mastering double sided PCB soldering can significantly enhance your skills in PCB assembly or PCBA, providing you with the confidence to tackle intricate projects. One crucial takeaway is the importance of proper preparation before initiating the soldering process. Ensuring that both sides of the PCB are clean and ready will lead to better connections and reduce the risk of defects.
Additionally, utilizing the right tools—such as a quality soldering iron, flux, and tweezers—can greatly improve your efficiency and effectiveness during double sided soldering. A well-organized workstation will help streamline your workflow, allowing you to focus on achieving high-quality joints.
“Preparation is key in any soldering task; spend time getting things right before you start.”
Another essential tip is to practice patience and precision while applying solder; this will not only result in cleaner connections but also minimize potential issues down the line. When facing common challenges such as bridging or cold joints, remember that troubleshooting with a systematic approach can save time and materials.
| Tool/Material | Purpose |
|---|---|
| Soldering Iron | Essential for melting and applying solder |
| Flux | Improves flow of solder and ensures adhesion |
| Solder | The alloy used for making connections |
| Tweezers | Helpful for placement of small components |
In conclusion, by focusing on technique, preparation, and using quality tools, you can elevate your PCB assembly skills while ensuring reliable performance in your projects.
Introduction to Double Sided PCB Soldering
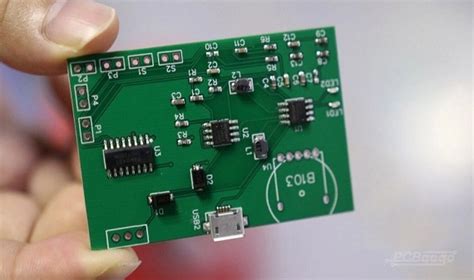
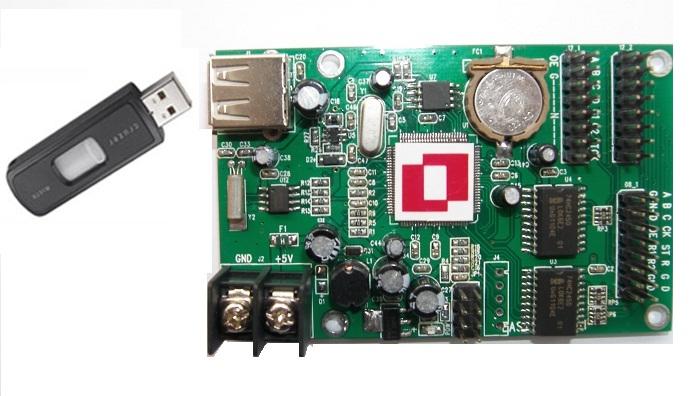
Double sided PCB soldering is an essential skill for anyone interested in PCB assembly and creating intricate electronic projects. This technique involves soldering electronic components on both sides of a printed circuit board (PCB), which can significantly optimize space and enhance functionality. The complexity of pcba increases as more components are placed on each layer, requiring precision and a deeper understanding of soldering techniques. Mastering this process not only enhances the performance of your electronics but also opens up opportunities to work on advanced projects that demand higher levels of engineering acuity.
In this section, we will explore the foundational concepts behind double sided soldering, highlighting its importance in modern electronic designs. It is crucial to understand the interplay between component placement, thermal management, and the physical characteristics of the solder used. By honing your skills in double sided PCB soldering, you’ll gain confidence in tackling more complex designs and ensure that your connections are reliable and robust. As you delve into this area, you’ll appreciate how critical it is for achieving high-quality PCB assembly, setting the groundwork for successful outcomes in your electronic endeavors.
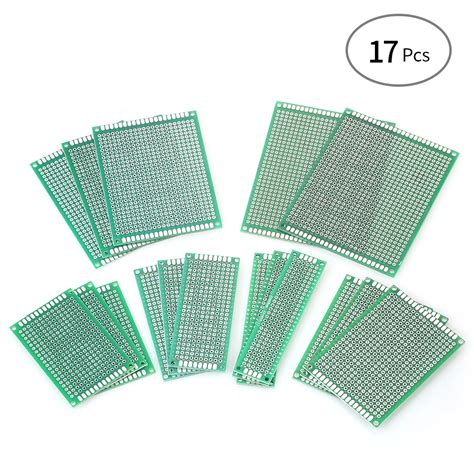
Essential Tools and Materials for Successful Soldering
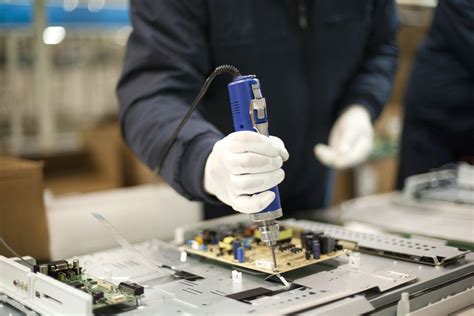
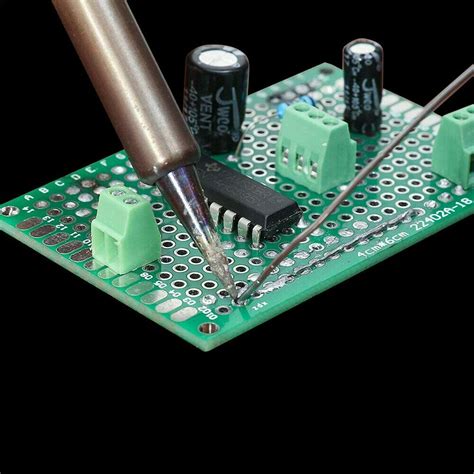
To achieve proficiency in double sided PCB soldering, it is crucial to have the right tools and materials at your disposal. Start by gathering a quality soldering iron with adjustable temperature control; this allows for versatility when working with various components on your printed circuit board. For effective pcb assembly, consider a soldering station that includes a stand, sponge, and various interchangeable tips, ensuring better precision while soldering.
You’ll also need solder—preferably a rosin core type—to ensure a smooth flow and strong connections. Smaller diameter solder (like 0.6mm) is often preferred for intricate work on double-sided boards. Additionally, use flux as it enhances the flow of solder and minimizes oxidation at the joint interface, vital for producing reliable connections in your pcba.
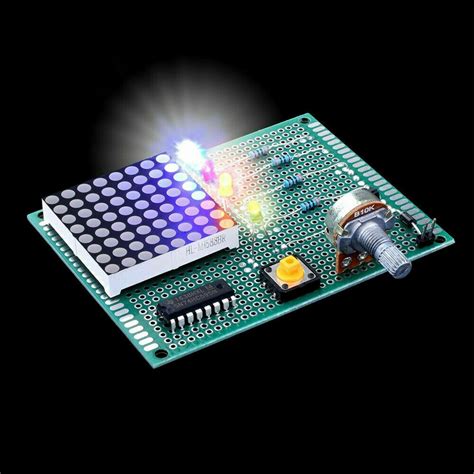
Don’t forget to incorporate tools like tweezers for handling tiny components and wire cutters to trim excess leads. A magnifying glass or an LED microscope can be invaluable when examining intricate details after soldering. Furthermore, anti-static mats and wrist straps are essential for preventing damage to sensitive electronics during assembly. By equipping yourself with these essential tools and materials, you’ll be well-equipped to tackle even the most complex PCB projects confidently.
Step-by-Step Guide to Preparing Your PCB
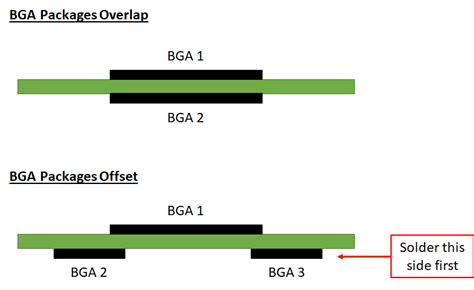
Preparing your double-sided PCB for soldering is a critical step that directly influences the success of your PCB assembly process. Begin by examining the PCB layout to ensure that all necessary components are correctly positioned. A clean workspace is essential, so make sure to clear any debris and gather all necessary tools, such as soldering iron, tweezers, and flux. Prior to soldering, inspect the PCBA for any manufacturing defects, such as misplaced pads or unexpected traces, as these can complicate the soldering process. Next, apply flux to the pads where components will be placed; this will enhance solder flow and help create strong connections. For double-sided PCBs, it’s advisable to use side-one soldering techniques effectively before flipping the board; begin by placing the components on one side and securing them with small amounts of solder. Once you complete this side and have verified connections are good, carefully flip the board over for the second side. Remember that careful preparation not only makes your soldering tasks simpler but also significantly improves the overall quality of your finished product, minimizing common errors that might arise during assembly.
Techniques for Effective Double Sided Soldering
Mastering effective double sided PCB soldering techniques is essential for a successful PCB assembly process. First and foremost, maintaining a clean work environment is crucial; this prevents dust and debris from interfering with the soldering quality. Ensure that your soldering iron is appropriately heated and well-tinned to facilitate optimal heat transfer to the components. Additionally, using solder paste judiciously on both sides of the board ensures proper adhesion and minimizes bridging between pads.
Consider employing techniques like reflow soldering for surface-mounted devices (SMDs) on one side while using traditional soldering methods for through-hole components on the opposite side. This dual approach enhances flexibility in your PCBA projects, making it easier to handle a variety of designs and layouts. Furthermore, using a multi-pin fixture can stabilize the PCB during soldering, thus improving precision and reducing the risk of misalignment.
Lastly, inspect your work regularly with a magnifying glass or micro-scope to check for any issues such as cold joints or incomplete solder connections. By integrating these techniques, you will not only improve the quality of your double sided soldering but also increase your efficiency in complex projects.
Troubleshooting Common Soldering Issues
Soldering on double sided PCBs can sometimes present challenges that require specific troubleshooting techniques to resolve effectively. One common issue is insufficient solder. This can occur when the solder does not flow properly or is not applied in the right amount. To address this, ensure that the soldering iron is at the correct temperature and that you are using the right type of solder for your specific pcb assembly needs. Additionally, make sure that both sides of the PCB are properly prepared by cleaning any residue or oxidization which can hinder proper adhesion.
Another frequent problem is cold solder joints, which often manifest as a dull, grainy finish on a joint. These can be caused by overheating or insufficient heat application. When troubleshooting this issue, it’s essential to reheat the joint and apply a small amount of fresh solder to create a proper connection. Additionally, when dealing with pcba, always keep an eye on your technique—make sure you apply heat evenly across both sides of the board to avoid damaging components.
Bridging is another issue where excess solder creates unintended short circuits between adjacent pads or traces. To solve this, use a fine desoldering braid or suction tool to remove excess solder carefully, ensuring that you prevent damage to the surrounding pads. Maintaining proper spacing and applying solder in controlled amounts during initial assembly can mitigate this issue altogether.
Lastly, pay close attention to component orientation and alignment; misaligned components not only complicate double sided soldering but may also lead to more severe functionality issues later on. By staying vigilant and applying these troubleshooting methods, you will significantly enhance your results with double sided PCB projects, improving both quality and reliability in your electronic designs.
Best Practices for Achieving High-Quality Connections
Achieving high-quality connections in double sided PCB soldering is crucial for the reliability and performance of your PCB assembly. One of the first best practices is to ensure that your surfaces are clean and free of contaminants. Proper cleaning methods involve using isopropyl alcohol or specialized cleaning solutions to remove flux residues, oil, or any other impurities. This step is vital, as any debris can compromise the integrity of the solder joint.
Additionally, using the right type of solder and ensuring a proper soldering technique can greatly enhance the quality of your connections. For double sided designs, it’s essential to control heat distribution when soldering components on both sides to prevent thermal stress that might lead to board warping. Employ a suitable soldering iron temperature—around 350 °C is often ideal—ensuring that it’s not too hot to damage sensitive components yet sufficiently warm for effective melting.
Another critical aspect includes paying attention to the pad size and hole diameter in your PCB design. Accurate specifications will facilitate smoother iron contact and lead wetting, ensuring a strong bond between components and pads. Using a solder mask provides extra assurance by preventing solder bridging between adjacent pads.
Finally, performing visual inspections with magnification tools can help identify cold joints or defects early on. Once you’ve mastered these practices in pcba, you can proceed with greater confidence in tackling more complex projects and achieving superior results in your PCB assembly efforts.
Advanced Techniques for Complex PCB Designs
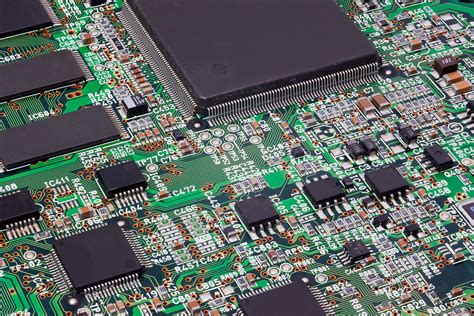
When working on complex PCB designs, mastering double sided PCB soldering becomes crucial for achieving optimal results in your pcb assembly projects. One advanced technique to consider is the use of layer stacking, which allows you to efficiently manage space and minimize the potential for interference between components on either side of the board. Additionally, employing via-in-pad technology enables designers to effectively route traces, reducing the total board space needed while also improving thermal performance.
It’s also important to pay attention to your pcba strategy; using high-quality solder masks and finishes can greatly enhance soldering quality and durability. Remember, good thermal management cannot be overlooked. Ensure that you use thermal vias correctly to aid in heat dissipation during operation, which is critical for preventing component failure in densely populated designs.
Another notable technique involves component placement, where strategic alignment of components can significantly simplify the soldering process. This meticulous attention to detail not only aids in maintaining the electrical integrity but also minimizes potential solder bridging between closely situated pads. For practitioners looking to enhance their skills further, integrating automated tools such as pick-and-place machines can streamline the assembly process while ensuring precision.
In summary, combining these advanced methods with a solid understanding of basics can elevate your capacity in managing complex PCB designs effectively, ensuring high-quality output in every project. Applying these techniques diligently will certainly advance your proficiency in double sided PCB soldering and pcb assembly, making it easier to tackle intricate designs with confidence.
Conclusion and Resources for Further Learning
Mastering double sided PCB soldering is essential for anyone looking to excel in the field of PCB assembly. By understanding the various techniques and familiarizing yourself with the necessary tools, you pave the way toward producing high-quality PCBA results. As you refine your skills, consider exploring advanced methods and specialized resources that can help address complex challenges that arise in soldering. For those looking to enhance their knowledge further, various online forums, instructional videos, and books provide valuable insights and foster a community atmosphere for exchanging ideas. Engaging with these resources not only improves your individual capabilities but also solidifies a foundational understanding of current best practices in the industry. Remember, with each project undertaken, you not only build your technical skills but also gain confidence to tackle increasingly intricate designs in printed circuit board projects.
Conclusion
In summary, mastering double sided PCB soldering is an invaluable skill for anyone involved in pcb assembly or pcba. This intricate process allows for increased component density and can significantly enhance the functionality of your electronics projects. As you delve into this art, it’s essential to understand that preparation is key; ensuring your PCB is correctly aligned and adequately prepared can prevent many common issues from arising. Moreover, adopting best practices, such as using the right tools and materials, can elevate the quality of your solder joints, ultimately leading to robust and reliable connections. As you navigate more complex designs, incorporating advanced techniques can further refine your skills. Remember, consistent practice combined with careful attention to detail will build your confidence in tackling even the most challenging double sided layouts. Embrace the learning journey ahead and keep experimenting with new methods to enhance your pcb assembly abilities.
FAQs
What is double sided PCB soldering?
Double sided PCB soldering refers to the process of soldering components onto both sides of a PCB, allowing for more complex circuits in electronic designs. This technique maximizes the use of space and enables more functionality in a smaller footprint.
What tools are needed for double sided PCB soldering?
Essential tools include a soldering iron, solder, flux, tweezers, and microscope for inspection. For successful pcb assembly, a reliable PCB holder can also be invaluable.
How do I prepare my PCB for double sided soldering?
Preparation involves cleaning the surface, applying a compatible solder mask, and ensuring proper alignment of components on both sides. This ensures optimal conditions for high-quality solder joints.
What techniques are effective for double sided soldering?
Key techniques include using solder paste, reflow methods, and maintenance of proper thermal management during the process. It’s important to ensure that the components are accurately positioned before applying heat.
How can I troubleshoot common issues in double sided PCB soldering?
Common issues may include cold joints or bridging. To troubleshoot, inspect with a magnifying tool and reflow any problematic joints with a precise application of heat.
For those looking to enhance their skills further, consider exploring advanced resources on this topic. If you’re interested in learning more about quality pcba, please click here.