PCB production tools
PCB production tools
Tool list:
- Drawing software
Protel 99SE
- Cutting tools
Cutting machine, sawing machine
- Plate making tools
Desktop thermal transfer machine, photosensitive machine
- Etching
Automatic etching machine
Text:
Whether you are a “fan” or not, even if you make a simple work, you have to go through the process of “design-plate making-etching”. Here you need to use your brain and hands, not only have knowledge reserves, but also practical skills such as cutting, drilling, milling, welding, not only have electronic and electrical basics, but also use woodworking and mold making skills.
Therefore, this is a process of constantly pursuing innovation, improving capabilities, and transcending oneself. And this “process” is exactly what many enthusiasts are pursuing tirelessly.
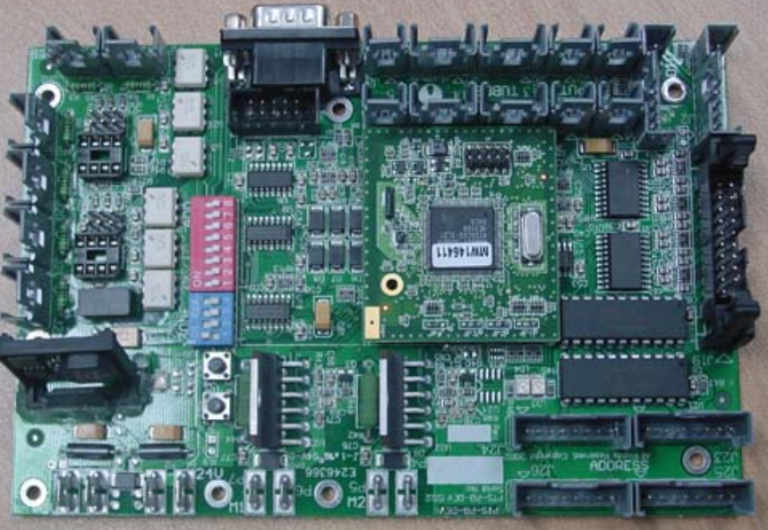
PCB board made of photosensitive film
“If you want to be good at it, you must first sharpen your tools.” This is an old saying in my country, a country with thousands of years of civilization. To pursue a perfect production, it is an indispensable prerequisite to prepare a set of convenient and practical tools. From my experience, the tools of amateurs are different from those of professional manufacturers and have the following three characteristics:
- Functional. Amateurs generally make simple products, and those who have the intention of research and development are mostly preliminary or pilot tests, so the functional characteristics of the tools should be simple enough and easy to operate.
- Moderate price. Amateurs are amateurs, and it is impossible to invest too much. Their economic conditions vary, so they should try to choose cost-effective tools.
- Small size. Amateurs generally operate at home, and the indoor area is limited, so they should fully consider the foldability, easy storage, low pollution and portability of the tools.
Based on the above characteristics, combined with my amateur practice, let’s talk about how to choose and make tools suitable for DIY circuit boards.
Circuit board design tools
Recommend Protel 99SE circuit board design and production software. Drawing PCB sketches is the basis for making circuit boards. At first, I also used white paper to draw PCB sketches, which was very troublesome, especially for the shape of components and drilling holes. The distance and position were difficult to control. If a line or a hole was not placed properly, I had to tear it off and start over. Later, I used coordinate paper to draw, which was somewhat convenient, but it was troublesome and laborious and could not fundamentally solve the problem. Later, I taught myself the design tool software Protel 99SE, and all the above problems were solved.
Drawing PCB sketches is no longer a hard work, but an artistic enjoyment!
A successful PCB diagram with red, yellow and blue is definitely a beautiful “artwork”, and it is even more fun to turn it from a drawing into reality through my own production!
There are many circuit design software now.
In addition to Protel 99SE, there are OrCAD electronic circuit drawing software, P-CAD2002, PADS circuit and printing software, electronic simulation software Multisim, and domestic circuit design software LEDS2000, etc. Each has its own advantages and can be selected according to your own conditions and hobbies, but I think Protel 99SE is widely used and easy to master.
What I want to emphasize here is that you should never neglect the learning of electronic design software! Learning Protel 99SE is a leap forward. It can not only draw beautiful PCB diagrams, but also lay the foundation for subsequent operations (adding solder mask and wire guide layer). Without this step, it is difficult to make a quasi-professional circuit board.
Of course, it may not be a problem for young enthusiasts, especially students majoring in electronics. For older comrades or people who are not majoring in electronics, they may encounter many difficulties when learning Protel 99SE, mainly in English (my experience is to use the Chinese version, make cards with relevant nouns and pages, overcome impatience, and bite the bullet to get into it).
Cutting tools
According to the needs of the circuit, cutting a PCB board of appropriate size is the basic requirement for production. For some small areas with low requirements, cutting with a hacksaw and cutting with a hook knife is the simplest and most convenient method. But it is not a simple matter to saw the board to make it look flat and beautiful.
Beginners should practice more and improve their skills in practice. Electronic production is a highly practical job. Only by thinking more and doing more, the level can be improved over time.
If conditions permit, you can consider using a manual PCB cutting machine, as shown in Figure 4.
It is worth noting that the blade of the PCB cutting machine is made of special steel. There is a paper cutter that looks similar to the PCB cutting machine, but the steel is different. Using a paper cutter to cut PCB boards is not only very laborious, but also the edges of the cut PCB boards are rough and uneven, and they are easy to crack, which is not as good as the effect of a hacksaw. Due to the steel of the blade, the price of a general PCB cutting machine is relatively high, ranging from 4,000 to 5,000 yuan.
There is also a desktop home mini sawing machine. Among them, the German-made mini magic desktop sawing machine was originally used to process woodworking models. It is also very useful for sawing PCB boards. This machine can process a wide range of materials. It can not only saw circuit boards, but also cut wood boards, metal plates, PVC boards, etc. If you have the conditions to buy one of this machine, it is also very useful when making various casings yourself. As shown in Figure 5.
This cutting machine (model JG-50, see Figure 6) is modified with a small motor imported from a disassembled machine made in Japan. The biggest feature is that it is easy to use and does not require a large space and workbench. It can be operated on a small table.
Draw a straight line on the board to be processed (the line should be drawn about 15cm to the left of the line to be cut. Be sure to measure the distance between the gear and the edge of the small electric saw you bought accurately), and move the motor frame along the drawn line in the indicated direction and slowly push it forward. Some powder or dust will be generated when sawing the board. For indoor processing, it can be placed in a large cardboard box to reduce environmental pollution.
This small electric saw can not only process PCB boards, but also saw PVC plastic boards or insulating boards. However, the speed should be slowed down to avoid damaging the motor and power supply. This is one of the tools I use most often in my daily production, and the effect is really good.
The most commonly sold online is a desktop manual cutting machine. This machine is relatively bulky and requires a stable installation base. It is more difficult to operate and is not suitable for amateur use.
Board making tools
For amateur electronics enthusiasts, the most commonly used board making methods are thermal transfer and photosensitive methods. The specific production process is introduced in various electronic newspapers and books, so I will not repeat it.
In addition to more than half of the professional thermal transfer machines, the thermal transfer method can consider the electric iron method for simple small-area boards. Here I recommend a small electric iron for modifying circuit boards, see Figure 7. It is simple and convenient to use this small iron to make small circuit boards.
A few years ago, I bought a simple desktop thermal transfer machine, which uses a single-chip microcomputer to control the heating time and temperature. It is simple to operate. You only need to set the heating time and temperature. It is very easy to use and is especially suitable for small-area circuit boards.
As shown in Figure 8. No matter what method is used to implement thermal transfer, remember that the transfer temperature should be kept around 175℃.
According to my practical experience, DIY enthusiasts should try to learn the photosensitive plate making method. This is the same as using Protel 99SE to draw PCB diagrams. It is a bit difficult to get started, but once you have mastered the preliminary method, you can basically form it in one go, generally no need to repair the board, and the board surface is uniform and tidy.
Interested friends can refer to the principle of photosensitive to make a self-made photosensitive machine, either a household fluorescent lamp or a special UV ultraviolet lamp. It should be noted that the distance between the lamp tube and the circuit board is 5cm, the exposure time of the fluorescent lamp is 10 minutes, and the exposure time of the UV ultraviolet lamp is 2 minutes. The specific exposure time should be based on the requirements of the photosensitive board manual and combined with the working environment to slowly become familiar with it.
Referring to the above principles, I made a self-made ultraviolet light exposure machine, using the Bihua Electronics HB24XH-10S countdown microcontroller circuit board, and made a time controller circuit board that can automatically control the exposure time. I set the exposure time to 2 minutes, and the effect is very good. As shown in Figures 9 to 11.
Etching method
After the circuit board is drawn, the copper-clad board must be etched to become a circuit board. The traditional etching material is ferric chloride (FeCL3). It should be said that ferric chloride is cheap and is a good choice for beginners. But its fatal disadvantage is that it pollutes the environment. It is not only easy to stain hands, clothes, and basins with difficult-to-remove colors, but also has a strong pungent smell. Be careful when using it.
Two points should be grasped when etching: First, the temperature should be controlled at around 55℃. If the temperature is too low, the etching speed will slow down; if the temperature is too high and the speed is too fast, it is easy to cause over-corrosion and damage the circuit board. Second, when etching, keep shaking the circuit board to speed up the corrosion speed and keep track of the progress at any time. If you have the conditions, buy a desktop automatic etching machine, which costs 200 yuan, which is also a good choice. See Figure 12.
In short, as long as we master a handy cutting skill, use Protel 99SE to draw a reasonable and beautiful PCB diagram, use the photosensitive method to make the circuit board copper plate, etch out a standard PCB board, or further apply a solder mask layer, after a period of practice, we can completely make a quasi-professional level PCB.