Power Board Assembly: A Comprehensive Guide for Efficient Setup

Key Takeaways
When engaging in pcb assembly, there are several crucial points to keep in mind to ensure a smooth and effective process. First, understanding the fundamentals of pcba is essential. This includes recognizing the various components involved, such as resistors, capacitors, and integrated circuits, as well as how they interact within the circuit board. Proper preparation cannot be overstated; having the right tools and materials on hand significantly boosts efficiency. Always double-check connections and soldering points to avoid common pitfalls.
“An ounce of prevention is worth a pound of cure.” This adage holds true in power board assembly, where meticulous preparation can save considerable time and resources later on.
Furthermore, prioritize safety by working in a clean environment that minimizes the risk of damage or accidents. Familiarizing yourself with best practices for maintaining your power board can extend its lifespan and enhance functionality. Remember that every step you take toward understanding pcb assembly not only leads to a successful setup but also builds your expertise for future projects. Embrace continuous learning by exploring advanced customization techniques that can tailor your power board setup to specific needs or applications. This foundational knowledge will serve you well as you navigate through any complexities inherent in electronics assembly.
Introduction to Power Board Assembly
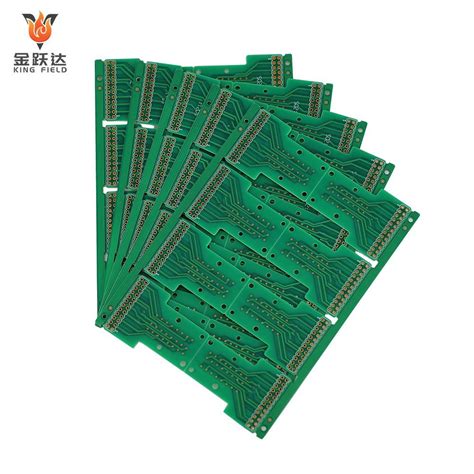
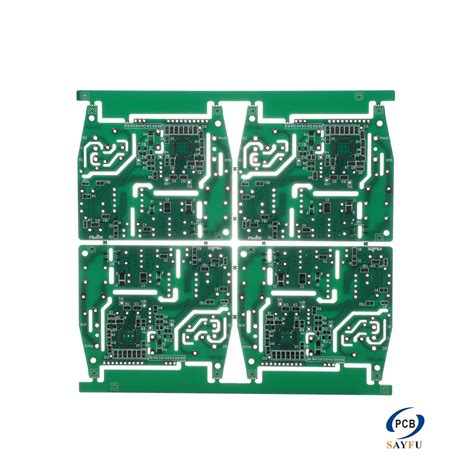
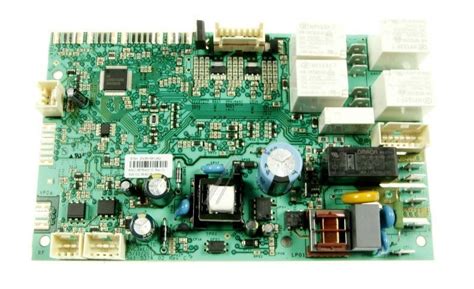
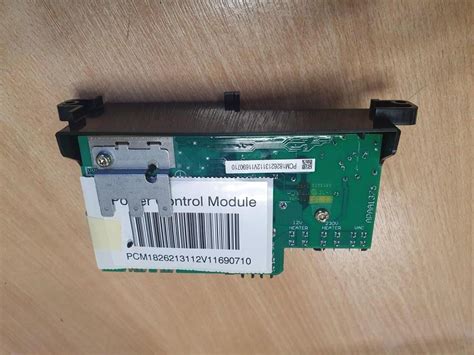
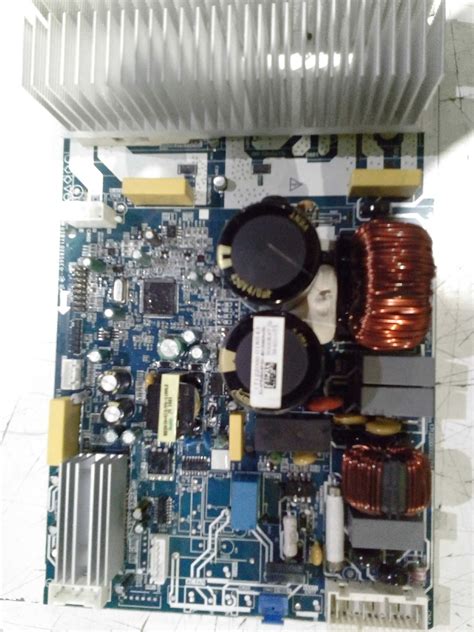
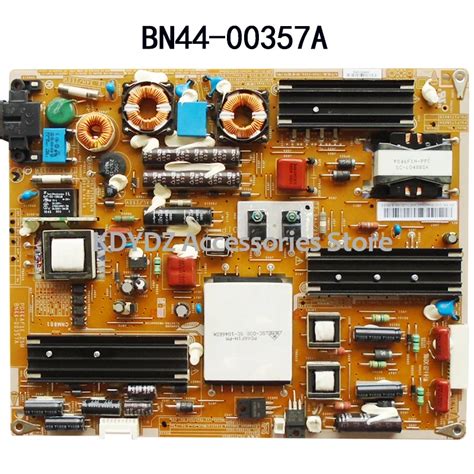
Power board assembly, commonly referred to as pcb assembly or pcba, is a crucial process in the manufacturing of electronic devices. This phase involves integrating various electronic components onto a printed circuit board (PCB) to create a functional circuit for a specific purpose. A well-executed power board assembly not only enhances the performance of electronic devices but also ensures reliability and longevity.
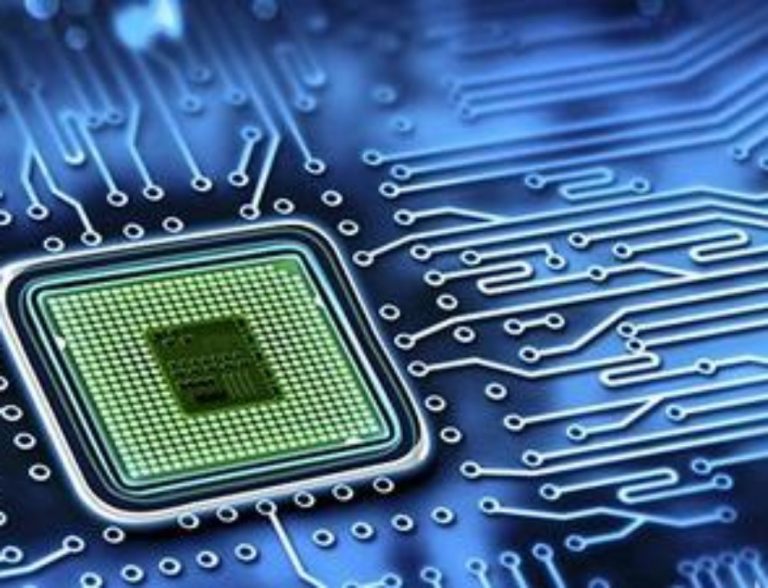
To begin with, understanding the fundamental aspects of pcba is essential. The assembly starts with careful planning and design, which includes selecting the appropriate components, such as resistors, capacitors, and microcontrollers. Each component plays a vital role in the functionality of the power board, making it imperative to choose high-quality parts that meet specific operational requirements.
Essential Steps in Power Board Assembly
The power board assembly process can be broken down into several key steps:
- Design Validation: Ensuring that the PCB design is optimized for manufacturing and adheres to industry standards.
- Component Sourcing: Selecting reliable distributors for sourcing electronic components.
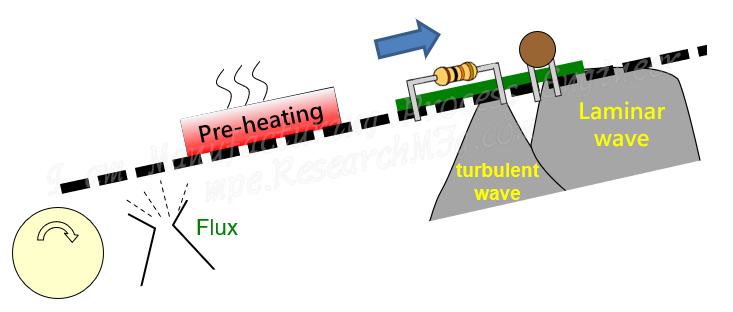
- Assembly Process: This stage often involves soldering components onto the PCB using methods like wave soldering or reflow soldering.
- Testing and Quality Assurance: Rigorous testing is conducted to identify any defects or issues that may affect performance.
| Step | Description |
|---|---|
| Design Validation | Ensures optimal PCB design conditions |
| Component Sourcing | Involves selecting high-quality components |
| Assembly Process | Methods such as wave soldering or hand soldering |
| Testing and Quality Assurance | Confirm functionality and quality |
By following these steps meticulously, engineers can achieve an efficient setup that maximizes performance while minimizing potential downtime due to failures or repairs. Ultimately, mastering the intricacies of pcb assembly will lead to successful project outcomes in various electronics applications.
Essential Tools and Materials for a Successful Assembly
To achieve a seamless pcb assembly, having the right tools and materials at hand is paramount. Start with a high-quality soldering iron; it is indispensable for making precise connections on your PCBA. Complement this with various sizes of solder wire, ensuring you choose one that fits your project’s specific needs. A reliable multimeter is also essential for troubleshooting and verifying connections throughout the power board assembly process.
Next, gather an assortment of hand tools, including tweezers, wire strippers, and pliers which will aid in the manipulation of small components. Alongside these tools, ensure you have adequate lighting in your workspace; a good lamp can significantly enhance visibility, thereby reducing the risk of mistakes during assembly.
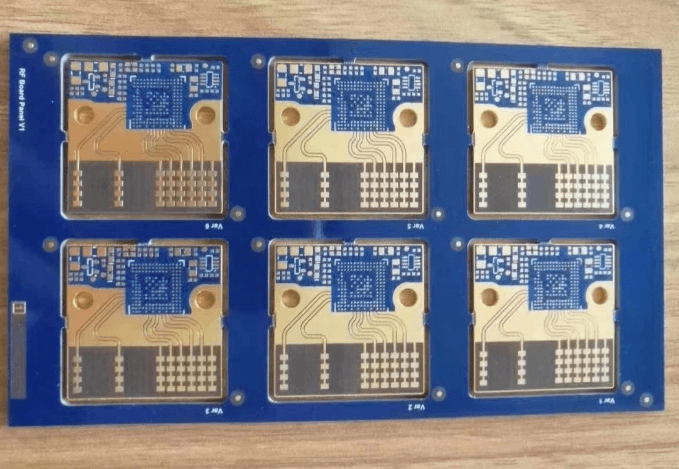
Don’t forget to include essential materials such as circuit boards, resistors, capacitors, and any other specific components required for your project. Organizing these materials in labeled containers can save valuable time and streamline your workflow during the assembly phase. Finally, invest in an appropriate work surface that minimizes static electricity to protect sensitive components from damage—a crucial consideration in any successful pcb assembly endeavor.
In summary, arming yourself with the right tools and high-quality materials is vital to ensure an efficient and effective setup process for your power board assembly. By doing so, you lay a solid foundation for achieving the desired performance from your assembled device.
Step-by-Step Instructions for Power Board Setup
When it comes to pcb assembly, the initial phase involves organizing your workspace. Begin by gathering all essential tools and materials, ensuring that you have a clean and well-lit area to facilitate your assembly process. Next, carefully inspect each component involved in your pcba; this includes verifying that all parts are functional and match the specifications needed for your setup.
With everything prepared, start by placing the power board on an anti-static mat to mitigate any potential damage. Carefully position each electronic component according to the schematic diagram, ensuring correct orientation for polarized components such as capacitors and diodes. As you proceed, use a soldering iron to secure each part firmly, maintaining a steady hand to create clean solder joints that are crucial for optimal performance.
Additionally, remember to regularly check for any excess solder or bridging between pads that could cause short circuits. After securing all components, conduct a thorough visual inspection before proceeding with power tests. Follow these detailed steps diligently, and you’ll enhance not only the efficiency of your power board assembly but also its long-term reliability in functioning within its intended application.
Common Mistakes to Avoid During Assembly
When undertaking pcb assembly, it is crucial to be aware of common pitfalls that can compromise the integrity of your project. One prevalent mistake is neglecting the correct orientation of components, particularly with polarized parts such as capacitors and diodes. Incorrect placement can lead to circuit failures and may damage other components on the pcba. Additionally, insufficient soldering can result in weak connections; hence, ensuring a proper flow of solder is essential for reliable performance. Another frequent error involves skimping on testing before finalization. Failing to carry out thorough checks can lead to missed faults that hinder functionality.
Overlooking the importance of a clean workspace can also disrupt the assembly process, as contaminants like dust or grease may affect soldering quality and component placement. Moreover, not following the schematic closely can result in misconfigured circuits that are hard to diagnose later on. Lastly, rushing through the power board assembly might save time initially but often leads to longer troubleshooting sessions down the road. By being mindful of these common mistakes and implementing best practices, you will significantly enhance your efficiency and effectiveness during pcb assembly.
Best Practices for Efficient Power Board Maintenance
Maintaining your power board assembly is critical for ensuring its longevity and optimal performance. One of the foremost practices is to keep the pcb assembly clean and free from dust or debris that could interfere with its functionality. Regular inspections should be conducted to check for any signs of damage or wear; this includes examining the pcba for loose connections, cracked traces, or burnt components. It’s important to utilize appropriate cleaning tools such as non-abrasive wipes or compressed air to avoid damaging sensitive components. When performing maintenance, always ensure that the board is powered off and adequately discharged to prevent any risk of electric shock or component damage.
Another essential aspect is to maintain a proper environment for the power board. High humidity, extreme temperatures, or exposure to chemicals can significantly affect the lifespan and reliability of your pcb assembly. Using protective enclosures can help mitigate these risks and protect sensitive electronic connections. Additionally, employing proper cable management is crucial; tangled cables not only create a messy setup but can lead to accidental disconnections or interference.
Lastly, keeping detailed records of all maintenance activities can provide invaluable insights over time. Documenting repairs, replacements, and inspections helps in tracking performance issues and ensuring timely interventions are made when needed. By adhering to these best practices for efficient power board maintenance, you can enhance the reliability and effectiveness of your pcba, ensuring it operates at peak efficiency for years to come.
Troubleshooting Common Issues in Power Board Assembly
Power board assembly, or pcb assembly, can often present challenges that may hinder the efficiency of the overall setup process. Understanding common issues and their solutions is essential for ensuring a successful pcba. One frequent problem encountered is improper soldering techniques, which can lead to poor connections and malfunctioning components. To rectify this, it is crucial to maintain the correct solder temperature and to apply an adequate amount of solder, ensuring that they create strong electrical joints without cold solder connections. Another issue may arise from incorrect component placement; double-checking component orientation and matching the layout with the schematic prior to soldering can mitigate this risk significantly. Additionally, issues related to power supply might occur if the voltage levels are not aligned with component specifications. Always ensure that your power supply settings meet the requirements of all components on your power board. Regular visual inspections for any potential inconsistencies during each step of pcb assembly, along with testing continuity using a multimeter, can significantly assist in diagnosing problems early in the process, enhancing your chances for a smooth assembly experience. Adopting a methodical approach when addressing these common issues not only improves craftsmanship but also contributes greatly to the durability and reliability of your finished pcba.
Advanced Tips for Customizing Your Power Board Setup
When it comes to enhancing your pcb assembly experience, customizing your power board setup can significantly impact performance and efficiency. One of the first considerations in this customization is selecting the right components. Not all pcba components are created equal; thus, conducting thorough research on voltage ratings, current requirements, and the specific functions of each component is critical. Additionally, utilizing high-quality materials can prevent common issues such as overheating or electrical interference.
Next, pay attention to layout optimization. A well-organized arrangement of components on your power board will not only improve functionality but also facilitate future upgrades or repairs. Make use of design software where possible to visualize the arrangement before finalizing it on the actual board.
Moreover, consider integrating additional features such as diagnostic LEDs or fuses which can help in monitoring performance and providing early warnings about potential failures. Incorporating easily accessible test points can also save time during troubleshooting by allowing quick access without dismantling large parts of the assembly.
Lastly, revisit wiring techniques—cabling should be managed wisely to minimize resistance and signal loss. Using color-coded wires can simplify maintenance and ensure that anyone working on the pcb assembly afterward understands the layout easily. By applying these advanced tips, you’ll not only create a more effective pcba, but you’ll also gain a deeper understanding of power board dynamics, setting yourself up for future success in any electronics projects you embark upon.
Conclusion and Next Steps for Power Board Assembly Success
In the journey of pcb assembly, ensuring the efficiency and effectiveness of your setup is paramount. After going through the essential steps and best practices, it’s crucial to meticulously review your assembly process to identify any missed details that could enhance your setup. Consider using the gathered insights from previous sections, such as common mistakes to avoid and troubleshooting tips, as a checklist for your next project. Additionally, if you’re aiming for a more customized approach in your pcba, don’t hesitate to employ advanced tips that can optimize functionality and performance to match specific requirements. As you progress, documenting each step and the results will not only solidify your understanding but also serve as a valuable resource for future projects. Embrace the continuous learning curve in power board assembly; refinements made today will enhance your success tomorrow.
Conclusion
In summation, effective pcb assembly is pivotal for ensuring that electronic devices function reliably and efficiently. By adhering to the essential steps outlined in this guide, individuals can significantly improve their proficiency in pcba setup. The focus on using the right tools and materials, implementing best practices, and avoiding common pitfalls cannot be overstated. Equally important is recognizing that ongoing maintenance plays a crucial role in the longevity and performance of your power board assembly. As technology evolves, taking the time to troubleshoot issues and explore advanced techniques for customizing your setup will lead to a superior operational experience. As you move forward into your pcb assembly journey, keep these insights in mind to cultivate not just competence, but also confidence in your assembly endeavors. Consider what additional resources or materials you may need to further enhance your knowledge and expertise in the realm of pcba technology. Your commitment to learning and improving will undoubtedly pay dividends in the quality of your assemblies and their resulting efficiency.
FAQs
Q: What is pcb assembly and why is it important?
A: PCB assembly, or printed circuit board assembly, is the process of connecting electronic components to a printed circuit board. It is crucial because a well-executed PCBA ensures the device operates reliably and efficiently.
Q: What are the essential tools for power board assembly?
A: The essential tools for power board assembly include soldering irons, multimeters, tweezers, and various types of solder. Each tool plays a vital role in the PCBA process.
Q: How do I avoid common mistakes during pcb assembly?
A: To avoid mistakes during pcb assembly, ensure you carefully follow the schematic diagrams, double-check component placements, and use proper soldering techniques. These practices help maintain the integrity of your PCBA.
Q: What steps should I follow for effective power board setup?
A: For effective power board setup, gather all required materials, arrange your workspace for easy access to tools, follow your step-by-step instructions meticulously, and perform quality checks throughout the process.
Q: Are there any advanced tips for customizing my PCBA?
A: Yes! Advanced tips include opting for surface mount technology (SMT) components for space efficiency and modifying traces to enhance performance. Customizing your pcb assembly can lead to innovative solutions tailored to specific needs.