A comprehensive guide to electronic circuit assembly
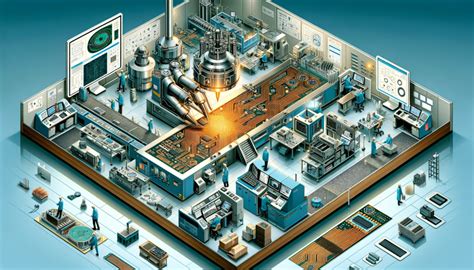
Electronic circuit assembly is an integral part of modern electronic engineering. Whether you are an amateur or a professional engineer, understanding the assembly process of electronic circuits is the basis for designing and manufacturing electronic devices. This article will explore in detail the basic concepts, tools, materials, steps, and precautions of electronic circuit assembly.
1.Basic concepts of electronic circuits
Electronic circuits are circuits made up of various electronic components (such as resistors, capacitors, diodes, transistors, etc.) connected by wires to achieve specific functions. Electronic circuits can be divided into two categories: analog circuits and digital circuits. Analog circuits process continuous signals, while digital circuits process discrete signals.
1.1 Electronic components
Resistors: components that limit the flow of current, often used for voltage division and current limiting.
Capacitors: components that store electrical energy, often used for filtering and coupling.
Diodes: components that allow current to flow in one direction, often used for rectification and protection circuits.
Transistors: components used to amplify and switch signals, and are the basis of modern electronic devices.
1.2 Circuit diagrams
Circuit diagrams are the “blueprints” of electronic circuits, which use symbols to represent various components and their connections. Understanding the circuit diagram is the first step in assembling a circuit.
2.Tools and materials required for electronic circuit assembly
Before assembling an electronic circuit, it is very important to prepare the required tools and materials.
2.1 Tools
Soldering iron: used to solder components, usually a temperature-adjustable soldering iron is required.
Solder: a metal alloy used to connect components, usually an alloy of tin and lead.
Wire strippers: used to strip the insulation layer of wires to expose the metal conductor.
Pliers: used to clamp and bend components.
Multimeter: used to measure voltage, current and resistance, helping to detect the correctness of the circuit.
2.2 Materials
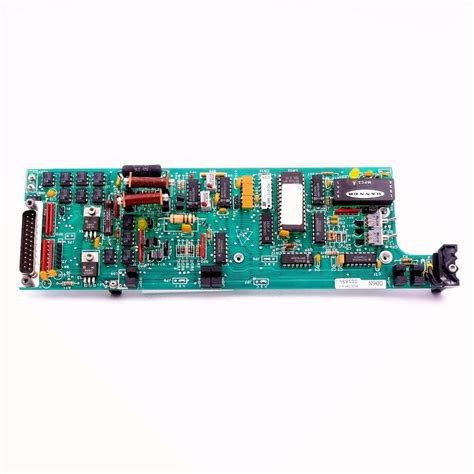
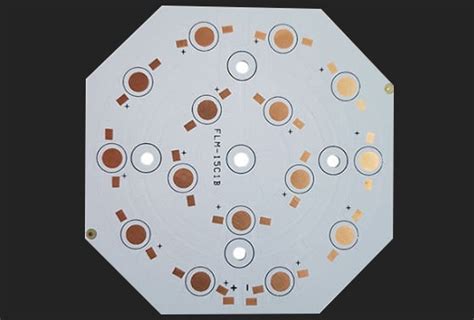
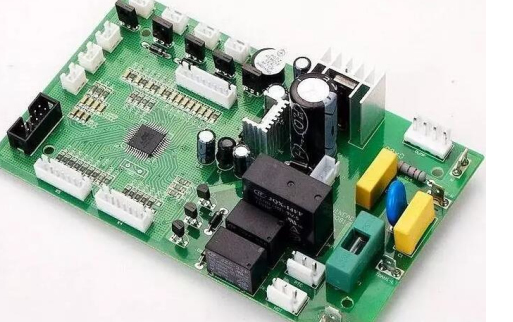
Printed circuit board (PCB): a substrate used to carry and connect electronic components.
Electronic components: select the required resistors, capacitors, diodes, transistors, etc. according to the circuit design.
Connecting wires: used to connect the various parts in the circuit.
3.Electronic circuit assembly steps
The assembly process of electronic circuits can be divided into several main steps:
3.1 Designing the circuit
Before starting to assemble, you first need to design the circuit. This can be done by manually drawing a circuit diagram or using circuit design software. The design needs to consider the function of the circuit, the choice of components, and the requirements of the power supply.
3.2 Prepare materials
Prepare the required electronic components and materials according to the designed circuit diagram. Make sure that the specifications and quantity of all components meet the design requirements.
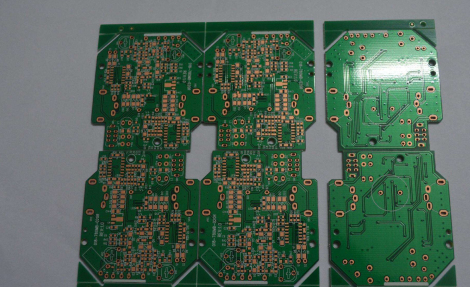
3.3 Cut and process the PCB
If you are using a bare board PCB, you may need to cut and process the PCB according to the circuit diagram. Make sure that the size and shape of the PCB meet the design requirements and drill holes in appropriate locations to install the components.
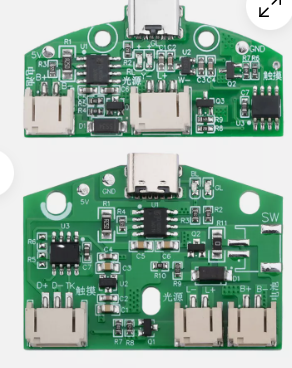
3.4 Install components
According to the circuit diagram, install the electronic components one by one on the PCB. Usually start with low-height components (such as resistors), followed by high-height components (such as capacitors and transistors). Make sure the polarity of the components is correct, especially for diodes and electrolytic capacitors.
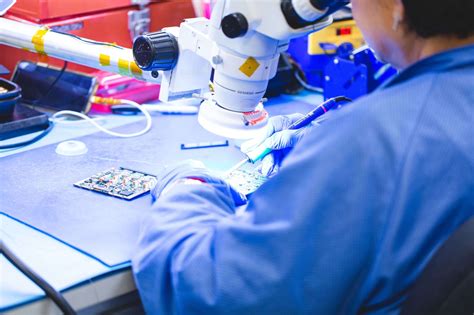
3.5 Solder components
Use a soldering iron and solder to solder the components to the PCB. When soldering, make sure that the solder joints are smooth and full to avoid short circuits or cold soldering. After soldering, check the quality of each solder joint.
3.6 Connect power and test
After soldering is complete, connect the power supply and test. Use a multimeter to check the voltage and current of the circuit to ensure that the circuit is working properly. If any problems are found, carefully check the circuit connections and solder joints.
3.7 Encapsulation and protection
After the test is completed, the circuit can be encapsulated and protected. Choose a suitable shell as needed to ensure that the circuit is not damaged during use.
4. Precautions
During the assembly of electronic circuits, there are some precautions to keep in mind:
4.1 Safety first
When using soldering irons and other tools, be sure to pay attention to safety to avoid burns and other accidental injuries. The working environment should be kept dry and away from flammable items.
4.2 Component polarity
For polar components (such as diodes and electrolytic capacitors), be sure to pay attention to polarity during installation to ensure correct connection.
4.3 Welding skills
When soldering, the temperature of the soldering iron should not be too high to avoid damaging the components. The welding time should be shortened as much as possible to avoid overheating.
4.4 Testing and Debugging
After assembly, be sure to perform adequate testing and debugging to ensure that the circuit works properly. You can use tools such as an oscilloscope to observe the signal waveform and check the performance of the circuit.
5. Summary
Electronic circuit assembly is a challenging and fun activity. By understanding the basic concepts, mastering the necessary tools and materials, following the assembly steps, and paying attention to safety and details, anyone can successfully assemble a fully functional electronic circuit. With the continuous development of technology, the application areas of electronic circuits are also expanding. From simple household appliances to complex industrial equipment, the assembly skills of electronic circuits will open up more possibilities for us.
I hope this article can help you in the assembly of electronic circuits. Whether you are a beginner or an experienced engineer, mastering these basic knowledge and skills will provide a solid foundation for your electronic projects.