Aluminium pcb prototype
The process of creating an aluminum PCB prototype is similar to that of a regular PCB prototype,
but with some additional considerations due to the unique properties of aluminum.

Here are the steps involved in creating an aluminum PCB prototype:

1. Design the PCB: Create a design for your aluminum PCB using a PCB design software. Make sure to consider the unique properties of aluminum, such as its thermal conductivity and electrical properties.
2. Choose a PCB manufacturer: Select a PCB manufacturer that specializes in aluminum PCBs and can produce prototypes.
3. Submit your design files: Submit your design files to the PCB manufacturer. Make sure to include any special requirements, such as the thickness of the aluminum and the number of layers.
4. Review and approve the design: The PCB manufacturer will review your design and send you a design file for approval before manufacturing.
5. Manufacturing: Once the design is approved, the PCB manufacturer will begin manufacturing your aluminum PCB prototype. This process typically involves etching the aluminum substrate and applying a layer of copper to create the circuit traces.
6. Testing: The finished aluminum PCB prototype will be tested to ensure that it meets your specifications.
Overall, the process of creating an aluminum PCB prototype is similar to that of a regular PCB prototype, but with some additional considerations due to the unique properties of aluminum.

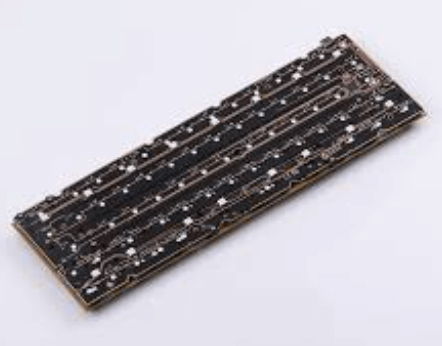
What is Aluminum PCB Prototype
An Aluminum PCB prototype is a printed circuit board that is made of aluminum as the base material instead of traditional FR4 or other materials.
The aluminum substrate provides better heat dissipation and thermal management,
making it ideal for high-power applications such as LED lighting, power supplies, and motor control.
The prototype is used to test and validate the design before mass production.
It is typically produced in small quantities and used for evaluation and testing purposes.