Does PCB Prototyping Require Mold Opening? A Comprehensive Guide
Introduction
Printed Circuit Board (PCB) prototyping is a crucial step in electronics development, allowing engineers to test and refine their designs before mass production. A common question among designers and manufacturers is whether PCB prototyping requires mold opening (tooling), as this can impact cost, lead time, and design flexibility.
This article explores the necessity of mold opening in PCB prototyping, comparing different fabrication methods, and discussing factors that influence the decision.
Understanding PCB Prototyping
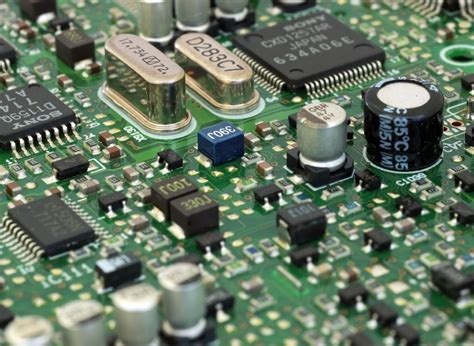
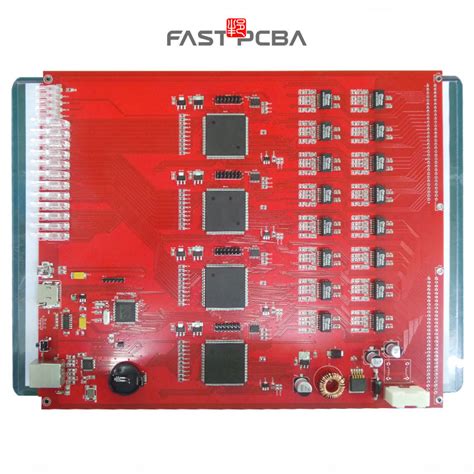
PCB prototyping involves creating a small batch of boards to validate functionality, performance, and manufacturability. Unlike mass production, prototyping focuses on speed and flexibility rather than cost optimization.
Key PCB Prototyping Methods
- Traditional PCB Fabrication
- Uses subtractive methods (etching copper layers).
- No mold required; relies on drilling, plating, and etching.
- Additive Manufacturing (3D Printing)
- Emerging technology for rapid PCB prototyping.
- No mold needed; builds layers using conductive inks.
- CNC Milling
- Mechanically removes copper to form traces.
- Suitable for single-layer or simple designs.
- Flexible PCB Prototyping
- Uses laser cutting or chemical etching.
- Mold opening is unnecessary for small batches.
When Is Mold Opening Required in PCB Manufacturing?
Mold opening (tooling) is typically associated with injection molding or stamping processes, not standard PCB fabrication. However, certain scenarios may involve molds:
1. PCB Housing or Encapsulation
- If the PCB requires a custom plastic enclosure, injection molding may be needed.
- Example: Consumer electronics with molded casings.
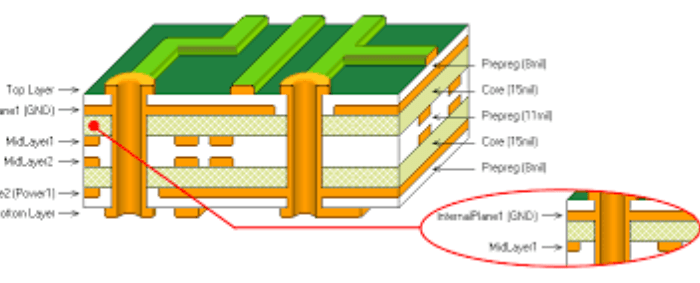
2. Specialized PCB Manufacturing
- Some high-frequency or rigid-flex PCBs may use molded substrates.
- Example: Automotive or aerospace applications.
3. Mass Production vs. Prototyping
- Prototyping rarely involves molds unless testing mechanical integration.
- Mass production may use molds for non-PCB components (e.g., connectors).
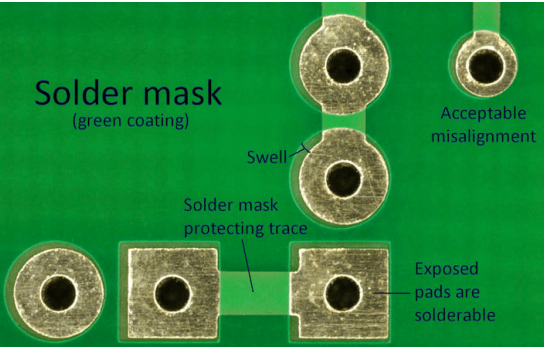
PCB Prototyping Without Mold Opening
Most PCB prototypes are fabricated using etching, drilling, and plating processes that do not require molds. Key advantages include:
- Faster Turnaround (24-hour to 5-day delivery).
- Lower Cost (no upfront tooling investment).
- Design Flexibility (easy revisions between iterations).
Common PCB Prototyping Services
- Online PCB Manufacturers (e.g., JLCPCB, PCBWay)
- Offer low-cost, quick-turn prototypes without molds.
- Support FR-4, aluminum, and flexible substrates.
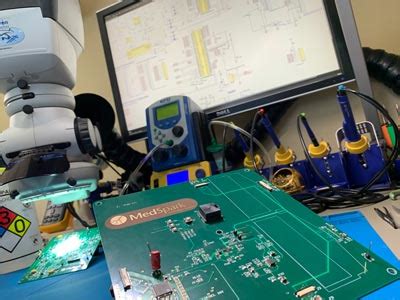
- In-House Prototyping
- Small-scale etching or milling for quick validation.
Cases Where Mold-Like Processes Are Used
While traditional PCBs don’t need molds, some advanced techniques involve similar concepts:
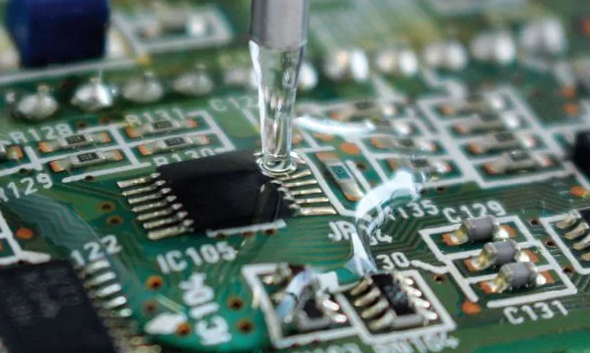
1. Stencil Creation for Solder Paste
- Laser-cut stencils ensure precise solder application.
- Not a “mold” but a tooling requirement for assembly.
2. Press-Fit or Molded Interconnects
- Some high-density designs use molded pins or connectors.
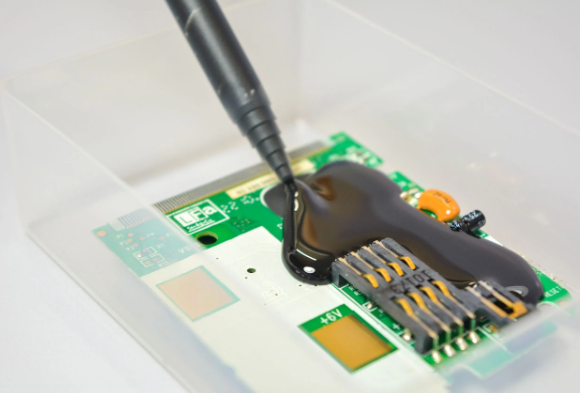
3. Embedded Component PCBs
- Components encapsulated within the PCB may require molding.
Cost and Time Implications
- No Mold Opening = Lower cost ($5–$100 per prototype).
- With Mold Opening = Higher cost ($500–$5000+ for tooling).
Lead times:
- Standard PCB: 1–7 days.
- Mold-dependent parts: 2–8 weeks.
Conclusion
For most PCB prototyping needs, mold opening is unnecessary. Standard fabrication methods (etching, milling, or additive manufacturing) suffice for functional testing. However, if the design involves custom enclosures or specialized materials, mold-related processes may come into play.
Engineers should consult with PCB manufacturers to determine the best approach based on design complexity, budget, and production scale.
Final Recommendations
- For pure PCB testing: Avoid molds; use quick-turn prototyping services.
- For integrated assemblies: Evaluate if mechanical molds are needed.
- For mass production: Consider tooling costs only after successful prototyping.
By understanding these distinctions, designers can optimize their prototyping strategy for efficiency and cost-effectiveness.