Hot Plate PCB Soldering: A Comprehensive Guide
Introduction
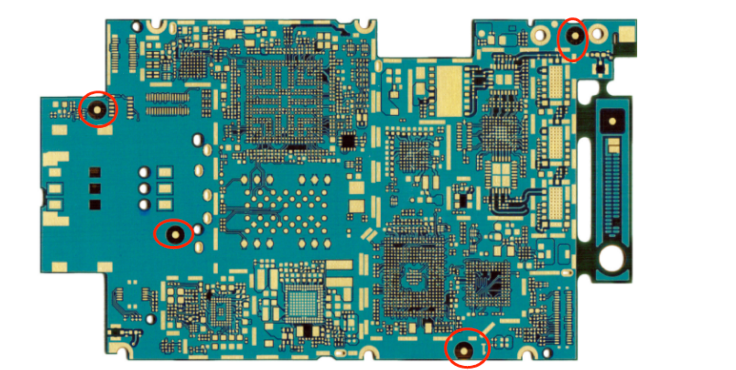
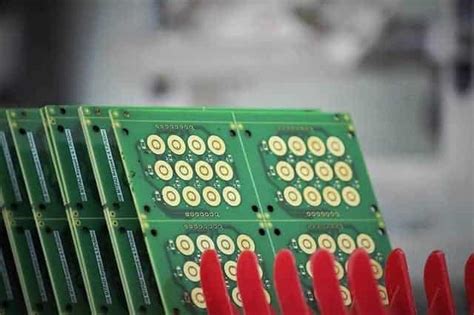
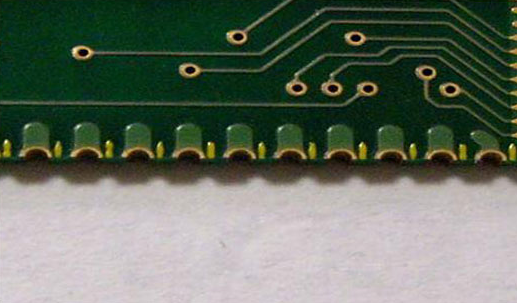
Printed Circuit Board (PCB) soldering is a fundamental process in electronics manufacturing and prototyping. Among various soldering techniques, hot plate soldering has gained popularity due to its simplicity, efficiency, and cost-effectiveness. This method is particularly useful for soldering surface-mount components (SMDs) onto PCBs without requiring complex equipment like reflow ovens.
This article explores hot plate PCB soldering, covering its principles, advantages, limitations, step-by-step procedures, and best practices. By the end, you will have a thorough understanding of how to effectively use a hot plate for PCB assembly.
1. What is Hot Plate PCB Soldering?
Hot plate soldering is a technique where a heated metal plate is used to transfer heat uniformly to a PCB, melting the solder paste and forming reliable electrical connections. This method is ideal for small-scale production, hobbyist projects, and prototyping where investing in a reflow oven is impractical.
How It Works
- Solder Paste Application: Solder paste (a mixture of flux and tiny solder particles) is applied to PCB pads using a stencil or syringe.
- Component Placement: SMD components are carefully placed on the solder paste.
- Heating Process: The PCB is placed on a preheated hot plate, which gradually raises the temperature, melting the solder and forming strong joints.
- Cooling: The PCB is removed and allowed to cool, solidifying the solder connections.
2. Advantages of Hot Plate Soldering
Compared to other soldering methods (hand soldering, reflow ovens, or hot air guns), hot plate soldering offers several benefits:
A. Cost-Effective
- Does not require expensive reflow ovens or specialized soldering stations.
- A simple electric hot plate is sufficient, making it ideal for hobbyists and small workshops.
B. Uniform Heating
- Unlike hand soldering, which can create uneven joints, a hot plate provides consistent heat distribution.
- Reduces the risk of cold solder joints or thermal damage to components.
C. Suitable for Small PCBs
- Works well for small to medium-sized PCBs (up to 15×15 cm, depending on the hot plate size).
- Ideal for prototyping and low-volume production.
D. Easy to Use
- No complex programming or temperature profiling required (unlike reflow ovens).
- Minimal setup time compared to other methods.
3. Limitations of Hot Plate Soldering
Despite its advantages, hot plate soldering has some drawbacks:
A. Limited Board Size
- Large PCBs may not heat evenly, leading to inconsistent soldering.
- Components near the edges may not reach optimal soldering temperatures.
B. Difficulty with Double-Sided PCBs
- Soldering both sides of a PCB requires additional steps (reheating may damage previously soldered components).
C. Temperature Control Challenges
- Cheap hot plates may lack precise temperature control, risking overheating.
- Thermal inertia can cause delayed cooling, affecting solder joint quality.
D. Not Ideal for All Components
- Sensitive components (e.g., electrolytic capacitors, some ICs) may degrade if exposed to prolonged heat.
- Through-hole components are not suitable for this method.
4. Step-by-Step Hot Plate Soldering Guide
Follow these steps for successful hot plate PCB soldering:
Step 1: Gather Materials
- PCB (with solder paste applied)
- SMD components
- Hot plate (preferably with adjustable temperature)
- Tweezers (for component placement)
- Thermocouple or IR thermometer (optional, for monitoring temperature)
- Heat-resistant surface (to place the PCB after soldering)
Step 2: Apply Solder Paste
- Use a stencil or syringe to apply solder paste on PCB pads.
- Ensure even distribution without excess paste.
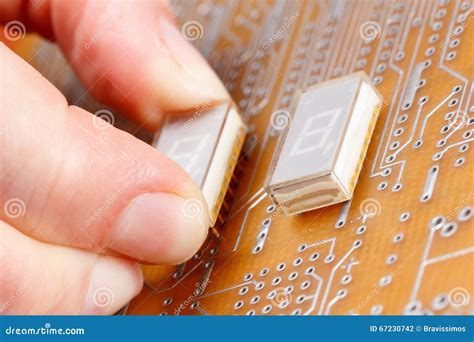
Step 3: Place Components
- Carefully position SMD components using tweezers.
- Verify alignment before heating.
Step 4: Preheat the Hot Plate
- Set the hot plate to 150–200°C initially (preheat stage).
- Allow the PCB to warm gradually to avoid thermal shock.
Step 5: Ramp Up Temperature
- Increase temperature to 220–250°C (solder melting point depends on alloy used).
- Observe solder paste melting (shiny appearance indicates proper reflow).
Step 6: Cooling
- Once solder reflows, remove the PCB and place it on a heat-resistant surface.
- Allow natural cooling; avoid forced cooling (can cause joint brittleness).
Step 7: Inspection
- Check for bridging, cold joints, or misaligned components.
- Use a magnifier or microscope for detailed inspection.
5. Best Practices for Hot Plate Soldering
To ensure high-quality solder joints, follow these tips:
A. Temperature Control
- Use a thermocouple to monitor PCB temperature.
- Avoid exceeding 260°C to prevent component damage.
B. Even Heating
- Place the PCB in the center of the hot plate for uniform heat distribution.
- Rotate the PCB slightly if needed to avoid cold spots.
C. Proper Solder Paste Handling
- Store solder paste in a cool, dry place.
- Stir gently before use if separation occurs.
D. Component Placement Accuracy
- Double-check component orientation (especially diodes, ICs).
- Secure components before heating to prevent movement.
E. Post-Soldering Cleaning
- Remove flux residues using isopropyl alcohol and a brush.
- Improves PCB aesthetics and prevents corrosion.
6. Troubleshooting Common Issues
| Issue | Possible Cause | Solution |
|---|---|---|
| Solder Bridges | Excess solder paste | Use less paste or a finer stencil |
| Cold Joints | Insufficient heat | Increase hot plate temperature |
| Component Misalignment | Movement during heating | Secure components before heating |
| Overheated Components | Excessive temperature | Reduce hot plate setting |
| Uneven Soldering | Poor heat distribution | Reposition PCB on hot plate |
7. Alternatives to Hot Plate Soldering
If hot plate soldering is unsuitable, consider:
- Reflow Oven (best for mass production)
- Hot Air Rework Station (for repairs and small batches)
- Hand Soldering with Iron (for through-hole components)
8. Conclusion
Hot plate PCB soldering is an efficient, low-cost method for assembling SMD components, especially for hobbyists and small-scale projects. While it has limitations (such as board size constraints and temperature control challenges), proper technique and best practices can yield excellent results.
By following the guidelines in this article—controlling temperature, ensuring even heating, and carefully placing components—you can achieve professional-quality solder joints without expensive equipment. Whether you’re a DIY enthusiast or a small electronics workshop, mastering hot plate soldering can significantly enhance your PCB assembly process.