How to make a copy board
PCB copy board refers to the service of redrawing PCB data based on existing products (finished products\circuit boards) for re-production when there is a lack of PCB data and the circuit board cannot be produced.
Generally speaking, PCB copy board is faster and has better quality than re-developing products, because a PCB design to mass production has undergone rigorous testing, and copy board can save these steps and directly materialize the physical PCB circuit board for direct production. This is why many small and medium-sized enterprises skip product development and directly realize production.
PCB copy board steps
PCB copy board refers to PCB cloning, or both PCB COPY, if copying a board is simple, you can directly take the PCB and re-draw it. However, in most cases, the PCB is re-scanned into the computer with a scanner, and then re-drawn with software. The steps are as follows:
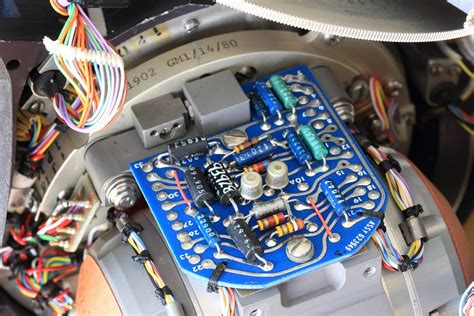
(1) Take a photo to record the appearance of the PCB
First, take a photo of the PCB to save the original image of the circuit board for future reference, including the types of components installed in different positions, etc.
(2) Record various component parameters
Use paper or pen to record the various positions on the circuit board, the various parameters of each component, and other information for use when soldering and installing again.
(3) Disassembly Components
Remove the components on the PCB with a soldering iron or hot air gun. Be careful not to damage the solder pads when removing the components. After removing the components, use a solder sucker to remove the excess tin on the circuit board so that the original PCB structure can be observed clearly.
(4) Scanning the circuit board
Put the circuit board to be copied into the scanner and scan it into the computer with high resolution. When scanning, the plug-in board can be selected at least 300DPI. For high-precision boards (such as mobile phones and motherboards), it is necessary to select about 1000DIP so that it can be seen clearly when drawing.
If the circuit board to be copied is a multi-guide board, it is necessary to scan one layer and then gently polish it with sandpaper to remove the fibers on the circuit board to expose the copper foil of the next layer. Continue scanning and directly scan all layers on the multi-layer board into the computer for use.
(5) Redraw the drawing according to the circuit
Use the copy board software or AUTOCAD to import the files of each layer as the base map, and then redraw the circuit diagram according to the circuit direction. The steps are generally to place the components, pads and vias, then to the circuit. Finally, to silk screen printing.
If it is a multi-layer board, after drawing the multi-layer board circuit, finally, according to the middle several welding points or vias, perform alignment, and finally synthesize a PCB file.
(6) Organize the data
If the copy board software is copied, then you can directly use the component library and output the PCB file. If the copy board is copied through AUTOCAD, it is important to output the CAM file production or import 99SE to generate the PCB file.


