Key Considerations for PCB Soldering: A Comprehensive Guide
Introduction
Printed Circuit Board (PCB) soldering is a critical process in electronics manufacturing and repair. Proper soldering ensures reliable electrical connections, mechanical stability, and long-term performance of electronic devices. However, poor soldering techniques can lead to defects such as cold joints, solder bridges, or component damage. This article explores the essential considerations for successful PCB soldering, covering preparation, techniques, common issues, and best practices.
1. Preparation Before Soldering
1.1 Selecting the Right Soldering Equipment
- Soldering Iron: Choose an appropriate wattage (typically 15W to 60W) based on the component size. Temperature-controlled irons (around 300°C to 370°C) are ideal for precision work.
- Solder Wire: Use high-quality lead-free (RoHS-compliant) or leaded solder with flux core for better wetting. Common alloys include Sn-Ag-Cu (SAC) and Sn-Pb (for non-RoHS applications).
- Flux: Additional flux may be required for difficult joints to improve solder flow and prevent oxidation.
- Soldering Station Accessories: Sponges, brass wool, and tip tinner help maintain the soldering iron tip.
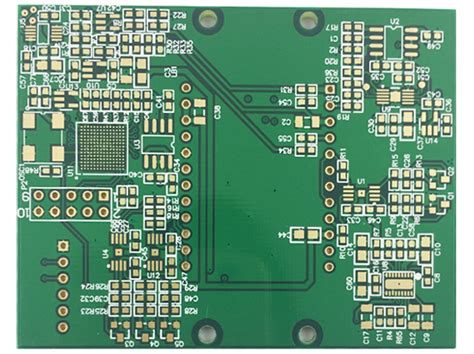
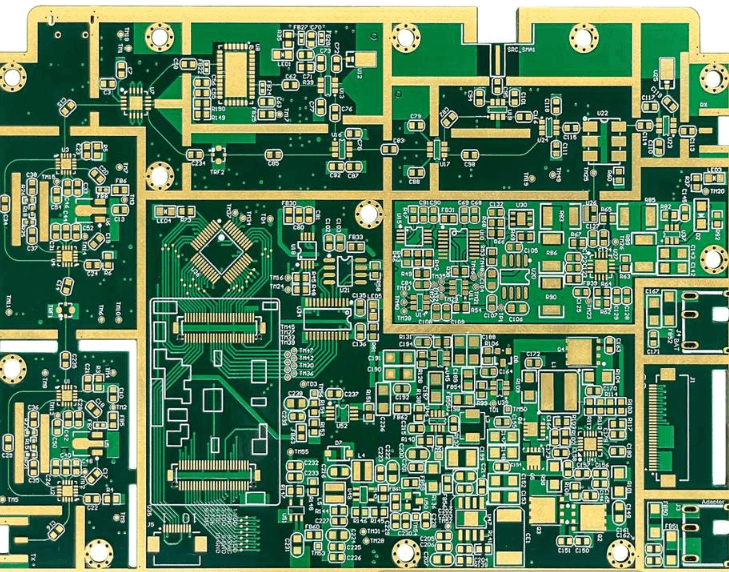
1.2 PCB and Component Inspection
- Ensure the PCB is clean and free from oxidation or contaminants.
- Verify component placement and orientation before soldering.
- Check for damaged pads or traces that may affect solderability.
1.3 Workspace Setup
- Work in a well-ventilated area to avoid inhaling flux fumes.
- Use an ESD-safe workstation when handling sensitive components.
- Keep the workspace organized with proper lighting and magnification if needed.
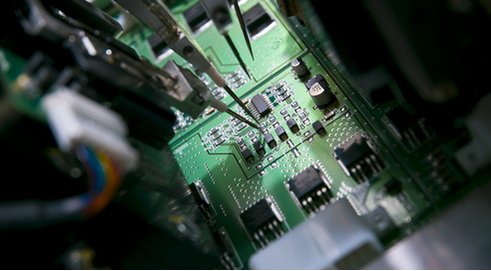
2. Soldering Techniques
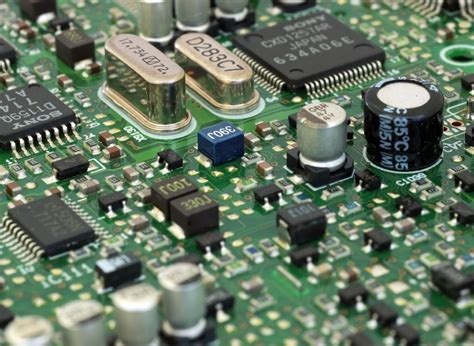
2.1 Hand Soldering (Through-Hole Components)
- Tinning the Iron Tip: Apply a small amount of solder to the tip before use to improve heat transfer.
- Heating the Joint: Place the iron tip on both the component lead and PCB pad simultaneously.
- Applying Solder: Feed solder wire into the joint (not the iron tip) until it melts and forms a smooth fillet.
- Removing the Iron: Withdraw the iron first, then the solder wire, allowing the joint to cool naturally.
2.2 Surface-Mount Device (SMD) Soldering
- Manual Soldering with a Fine Tip: Use a fine-tip iron and tweezers for small components.
- Drag Soldering: For multi-pin components (e.g., ICs), apply flux and drag solder across pins while maintaining proper heat.
- Hot Air Rework Stations: Useful for reflowing solder on SMD components without direct contact.
2.3 Desoldering Techniques
- Solder Wick (Braided Wire): Absorbs molten solder when pressed with a hot iron.
- Desoldering Pump (Solder Sucker): Creates suction to remove excess solder.
- Hot Air Gun: For removing SMD components without damaging pads.
3. Common Soldering Issues and Solutions
3.1 Cold Solder Joints
- Cause: Insufficient heat or movement during cooling.
- Symptoms: Dull, grainy appearance; poor electrical connection.
- Solution: Reheat the joint and add fresh solder if necessary.
3.2 Solder Bridges
- Cause: Excess solder connecting adjacent pins or pads.
- Symptoms: Short circuits between conductors.
- Solution: Use solder wick or a desoldering pump to remove excess solder.
3.3 Lifted Pads or Traces
- Cause: Excessive heat or mechanical stress during soldering.
- Solution: Repair with jumper wires or conductive epoxy if the pad is damaged.
3.4 Component Overheating
- Cause: Prolonged heat exposure, especially on sensitive ICs.
- Solution: Use heat sinks or limit soldering time to a few seconds per joint.
4. Best Practices for Reliable Soldering
4.1 Temperature Control
- Adjust soldering iron temperature based on component thermal requirements.
- Avoid excessive heat that can damage PCBs or components.
4.2 Proper Flux Application
- Use no-clean flux for easier post-soldering cleaning.
- Remove corrosive flux residues to prevent long-term corrosion.
4.3 Avoiding Mechanical Stress
- Allow joints to cool naturally without movement.
- Secure components before soldering to prevent misalignment.
4.4 Post-Soldering Inspection
- Visually inspect joints for smooth, shiny surfaces (indicating good wetting).
- Use a multimeter to check for continuity and unintended shorts.
- Clean flux residues with isopropyl alcohol if necessary.
5. Advanced Considerations
5.1 Lead-Free Soldering Challenges
- Higher melting temperatures require precise heat control.
- Increased risk of solder brittleness; use high-quality alloys.
5.2 Automated Soldering Techniques
- Wave Soldering: Used for through-hole components in mass production.
- Reflow Soldering: Preferred for SMD assembly using solder paste and controlled heating profiles.
5.3 Environmental and Safety Concerns
- Follow RoHS and WEEE regulations for lead-free and recyclable materials.
- Use fume extractors to minimize exposure to harmful flux vapors.
Conclusion
Successful PCB soldering requires attention to detail, proper tools, and adherence to best practices. By understanding the key challenges—such as temperature control, flux management, and defect prevention—technicians can achieve high-quality solder joints that ensure electronic reliability. Whether working on prototypes or mass production, continuous skill improvement and process optimization are essential for mastering PCB soldering.
By following these guidelines, engineers and hobbyists can minimize soldering defects, enhance PCB performance, and extend the lifespan of electronic assemblies.