Manual pcb assembly
Understanding The Basics Of Manual PCB Assembly
Manual PCB assembly is a fundamental process in the electronics manufacturing industry, where precision and attention to detail are paramount. Understanding the basics of this intricate procedure is essential for anyone involved in the production or design of electronic devices. At its core, manual PCB assembly involves the placement and soldering of electronic components onto a printed circuit board (PCB) by hand. This method, while labor-intensive, offers flexibility and is often employed for small production runs, prototypes, or complex assemblies that require a high degree of customization.
To begin with, the process starts with the preparation of the PCB itself.
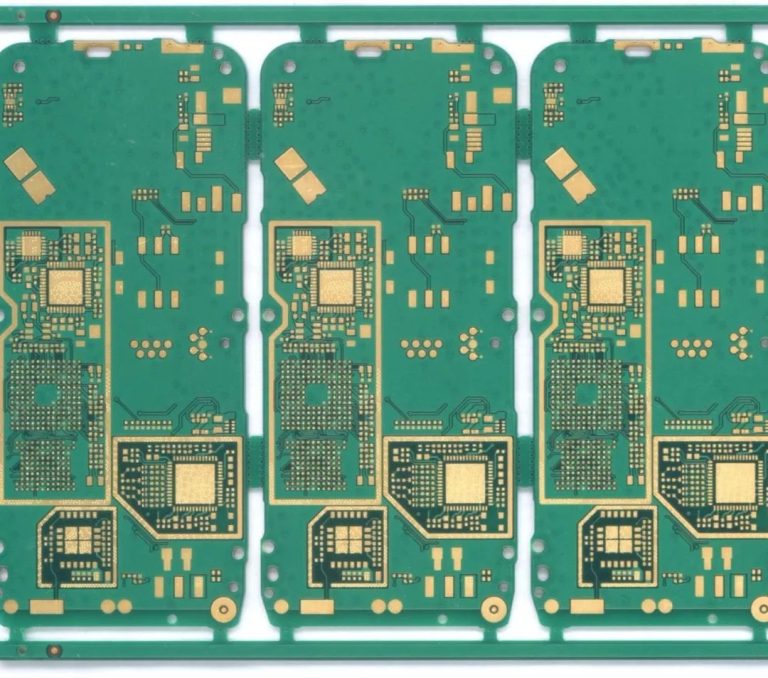
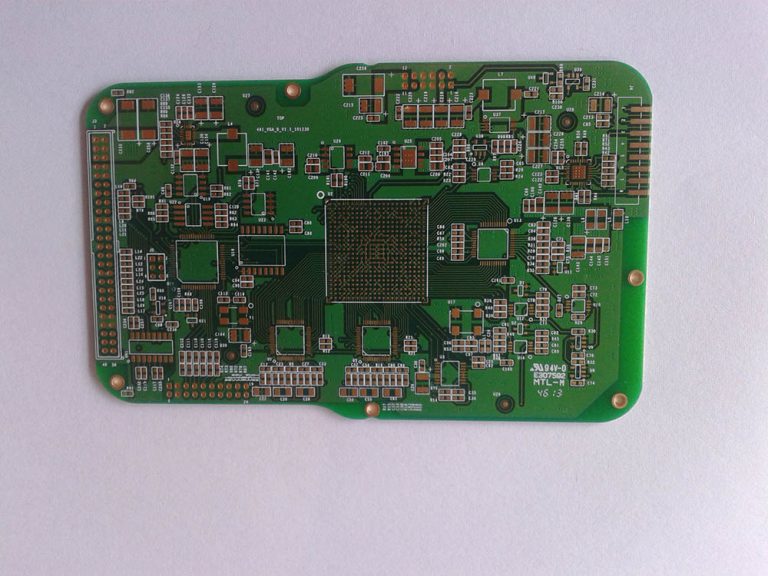
The board is typically made of a non-conductive substrate, such as fiberglass, with conductive pathways etched onto its surface. These pathways, or traces, connect various components and allow for the flow of electrical signals. Before any components are placed, the PCB must be thoroughly inspected for any defects or irregularities that could affect performance. This step is crucial, as even minor imperfections can lead to significant issues in the final product.
Once the PCB is ready, the next step involves the careful selection and preparation of components.
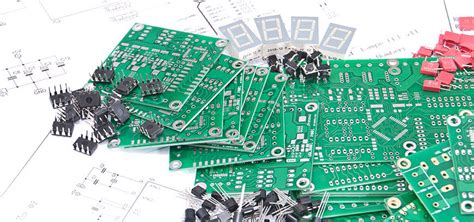
These components, which can range from resistors and capacitors to integrated circuits and connectors, must be organized and verified against a bill of materials (BOM). This ensures that the correct parts are used and helps prevent errors during assembly. Additionally, components may need to be pre-formed or trimmed to fit the specific layout of the PCB, a task that requires precision and skill.
Following component preparation, the actual assembly process begins.
This involves placing each component onto the PCB in its designated location. The accuracy of this placement is critical, as even slight misalignments can lead to malfunction or failure. In manual assembly, this task is performed by skilled technicians who rely on their expertise and steady hands to position each part correctly. To aid in this process, assembly technicians often use magnification tools and tweezers to handle small components with precision.
Once all components are in place, the next phase is soldering. Soldering is the process of joining the components to the PCB by melting a metal alloy, known as solder, to create a strong electrical and mechanical bond.
In manual assembly, this is typically done using a soldering iron, which allows for precise control over the application of heat and solder. The quality of the solder joints is crucial, as poor soldering can lead to weak connections and potential failures in the circuit.
After soldering, the assembled PCB undergoes a series of inspections and tests to ensure functionality and reliability.
Visual inspections are conducted to check for any visible defects, such as solder bridges or misaligned components. Additionally, electrical testing is performed to verify that the circuit operates as intended. This may involve using specialized equipment to measure electrical parameters and confirm that the PCB meets design specifications.
In conclusion, manual PCB assembly is a meticulous process that requires a high level of skill and attention to detail. While it may not be as fast or efficient as automated assembly methods, it offers unparalleled flexibility and is indispensable for certain applications. Understanding the basics of manual PCB assembly provides valuable insight into the complexities of electronics manufacturing and highlights the importance of precision and craftsmanship in this field.
Essential Tools For Manual PCB Assembly
Manual PCB assembly is a meticulous process that requires precision, attention to detail, and the right set of tools to ensure successful outcomes. As the foundation of electronic devices, printed circuit boards (PCBs) necessitate careful handling and assembly to maintain their functionality and reliability. To achieve this, several essential tools are indispensable for anyone involved in manual PCB assembly.
First and foremost, a high-quality soldering iron is crucial. This tool is used to melt solder, allowing components to be securely attached to the PCB.
When selecting a soldering iron, it is important to consider factors such as temperature control, wattage, and tip size. Temperature control is particularly vital, as different components and solder types require specific temperatures to avoid damage. A soldering iron with adjustable temperature settings provides the flexibility needed for various tasks. Additionally, interchangeable tips of different shapes and sizes can enhance precision and accessibility in tight spaces.
In conjunction with a soldering iron, solder wire is another essential component.
Solder wire, typically composed of a tin-lead or lead-free alloy, acts as the bonding agent between components and the PCB. The choice between leaded and lead-free solder depends on specific requirements and regulations, with lead-free options being more environmentally friendly. The diameter of the solder wire should also be considered, as thinner wires are better suited for fine-pitch components, while thicker wires are more appropriate for larger connections.
To complement the soldering process, a desoldering tool is necessary for correcting mistakes or replacing components.
Desoldering tools come in various forms, including desoldering pumps and desoldering braid. A desoldering pump, or solder sucker, is a mechanical device that creates a vacuum to remove molten solder from a joint. On the other hand, desoldering braid, also known as solder wick, is a copper braid that absorbs solder when heated. Both tools are effective, and the choice between them often depends on personal preference and the specific task at hand.
Furthermore, precision tools such as tweezers and pliers are indispensable for handling small components.
Tweezers allow for the careful placement and adjustment of components, while pliers can be used for bending leads or holding components in place during soldering. These tools should be anti-static to prevent damage to sensitive electronic components.
A magnification tool, such as a magnifying glass or microscope, is also essential for manual PCB assembly. These tools enable the assembler to closely inspect solder joints and component placement, ensuring accuracy and quality. Magnification is particularly important when working with surface-mount technology (SMT) components, which are often minuscule and densely packed.
In addition to these tools, a multimeter is invaluable for testing and troubleshooting assembled PCBs.
This device measures electrical properties such as voltage, current, and resistance, helping to identify faults and verify the functionality of the circuit. A reliable multimeter can save time and prevent potential issues by ensuring that all connections are correct and components are functioning as intended.
Finally, a clean and organized workspace is essential for efficient manual PCB assembly. An anti-static mat can protect components from electrostatic discharge, while proper lighting and ventilation enhance visibility and comfort. By maintaining an orderly environment, assemblers can focus on their tasks and reduce the risk of errors.
In conclusion, manual PCB assembly requires a comprehensive set of tools to ensure precision and reliability. From soldering irons and desoldering tools to magnification devices and multimeters, each tool plays a vital role in the assembly process. By equipping themselves with these essential tools, individuals can achieve successful outcomes in their PCB assembly endeavors.
Common Challenges In Manual PCB Assembly And How To Overcome Them
Manual PCB assembly, a critical process in the electronics manufacturing industry, involves the meticulous placement and soldering of components onto a printed circuit board by hand. Despite the precision and attention to detail required, this method is often preferred for small-scale production, prototyping, and complex designs that automated machines may struggle to handle. However, manual PCB assembly is not without its challenges. Understanding these common obstacles and implementing strategies to overcome them is essential for ensuring high-quality outcomes and efficient production.
One of the primary challenges in manual PCB assembly is the potential for human error.
Unlike automated processes, manual assembly relies heavily on the skill and concentration of the technician. Mistakes such as incorrect component placement, insufficient soldering, or misalignment can lead to defective boards. To mitigate these risks, it is crucial to provide comprehensive training for assembly technicians. By ensuring that workers are well-versed in reading schematics, identifying components, and understanding the assembly process, the likelihood of errors can be significantly reduced. Additionally, implementing a robust quality control system, where each step of the assembly is checked and verified, can further minimize the occurrence of mistakes.
Another challenge is the handling of small and delicate components.
As electronic devices become more compact, the components used in PCBs are correspondingly smaller and more fragile. This miniaturization can make manual handling difficult, increasing the risk of damage during assembly. To address this issue, technicians should be equipped with appropriate tools, such as precision tweezers and magnification devices, to aid in the careful handling of tiny components. Furthermore, maintaining a clean and organized workspace can prevent accidental damage and loss of components, thereby enhancing the overall efficiency of the assembly process.
Soldering is another critical aspect of manual PCB assembly that presents its own set of challenges.
Achieving the perfect solder joint requires a delicate balance of temperature, time, and technique. Poor soldering can result in weak connections, which may lead to circuit failure. To overcome this challenge, it is essential to use high-quality soldering equipment and materials. Regular maintenance and calibration of soldering irons can ensure consistent performance. Additionally, providing technicians with training on proper soldering techniques, such as the correct application of heat and solder, can improve the quality of solder joints and reduce the incidence of defects.
Moreover, managing the complexity of modern PCBs can be daunting.
With the increasing demand for multifunctional devices, PCBs are becoming more intricate, featuring multiple layers and a higher density of components. This complexity can make manual assembly more time-consuming and prone to errors. To tackle this challenge, breaking down the assembly process into smaller, manageable steps can be beneficial. By focusing on one section of the board at a time, technicians can maintain better control over the assembly process. Additionally, using detailed assembly guides and checklists can help ensure that all components are correctly placed and soldered.
In conclusion, while manual PCB assembly presents several challenges, these can be effectively managed through proper training, the use of appropriate tools, and the implementation of systematic procedures. By addressing the potential for human error, handling delicate components with care, mastering soldering techniques, and managing complexity, manufacturers can achieve high-quality results and maintain efficiency in their manual PCB assembly processes.
Step-By-Step Guide To Manual PCB Assembly For Beginners
Manual PCB assembly is a meticulous process that requires precision and attention to detail, especially for beginners who are just starting to explore the world of electronics. Understanding the step-by-step procedure is crucial for ensuring that the final product functions as intended. The process begins with gathering all necessary materials and tools, which include the printed circuit board (PCB), electronic components, soldering iron, solder wire, tweezers, and a magnifying glass. Having these tools readily available ensures a smooth workflow and minimizes interruptions.
The first step in manual PCB assembly is to prepare the workspace.
A clean, well-lit area is essential for effective assembly, as it allows for better visibility and reduces the risk of errors. Once the workspace is set, the next step involves inspecting the PCB for any visible defects or damage. This preliminary check is vital to avoid complications later in the assembly process. After confirming that the PCB is in good condition, the components can be organized according to their placement on the board. This organization helps streamline the assembly process and reduces the likelihood of placing components incorrectly.
Following the organization of components, the next step is to begin the soldering process.
It is important to start with the components that have the lowest profile, such as resistors and diodes, as this makes it easier to handle the board and prevents taller components from obstructing access to smaller ones. Using a soldering iron, heat the pad on the PCB and the component lead simultaneously, then apply solder wire to the joint. The solder should flow smoothly and form a shiny, concave fillet around the lead. It is crucial to avoid using excessive solder, as this can lead to bridging between adjacent pads and cause short circuits.
Once the low-profile components are securely soldered, the assembly process continues with the installation of larger components, such as capacitors and integrated circuits.
These components often require more careful handling due to their size and complexity. For integrated circuits, it is advisable to use a socket if possible, as this allows for easy replacement in case of failure. When soldering these components, ensure that they are correctly oriented according to the PCB layout, as incorrect orientation can lead to malfunction.
After all components are soldered onto the PCB, it is essential to perform a thorough inspection.
This involves checking each solder joint for quality and ensuring that there are no cold joints or solder bridges. A magnifying glass can be particularly useful for this task, as it allows for a closer examination of the joints. Additionally, verifying the placement and orientation of each component against the schematic diagram is crucial to ensure that the assembly is correct.
The final step in manual PCB assembly is testing the assembled board.
This involves powering the board and using a multimeter to check for continuity and correct voltage levels at various points. If the board does not function as expected, troubleshooting may be necessary to identify and rectify any issues. This could involve re-soldering joints, replacing components, or revisiting the schematic to ensure accuracy.
In conclusion, manual PCB assembly is a detailed process that requires careful planning and execution. By following these steps, beginners can develop the skills necessary to assemble functional and reliable electronic circuits. With practice and attention to detail, manual PCB assembly can become a rewarding and educational experience.