Mastering Circuit Board Assembly: A Step-by-Step Guide
Key Takeaways
Understanding the essentials of pcb assembly is crucial for anyone venturing into electronics. This process involves several steps, each of which contributes to the effectiveness and reliability of the final product. By familiarizing yourself with pcba techniques, you can ensure that your designs are executed with precision and care. One of the key takeaways from mastering this craft is recognizing the importance of selecting the right components. Each part must be carefully chosen to match your project’s requirements, as subpar materials can lead to failures in your circuit boards.
Moreover, it’s vital to have a solid toolkit at your disposal. The right tools for circuit board assembly can significantly enhance your efficiency and output quality. During assembly, adhering strictly to best practices will help you avoid common pitfalls that could compromise your work. As you gain experience, experimenting with advanced techniques will allow you to improve pcba reliability even further.
Ultimately, the knowledge gleaned from this guide empowers you to approach circuit board assembly with confidence and creativity. Whether for personal projects or professional applications, understanding these fundamental takeaways fosters a successful journey in electronics design and implementation.
Introduction to Circuit Board Assembly: Understanding the Basics
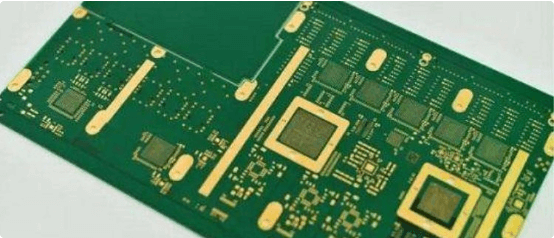
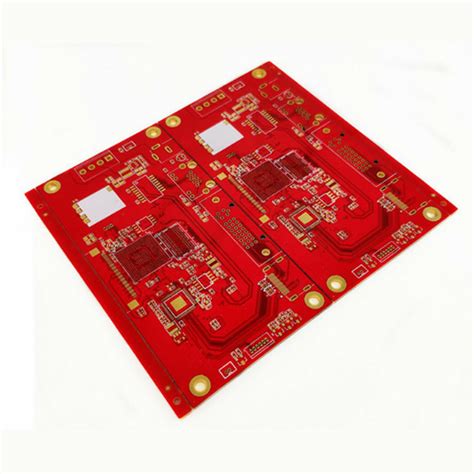
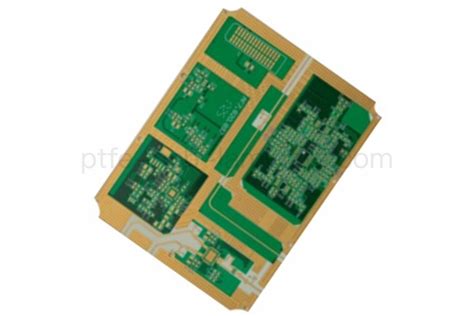
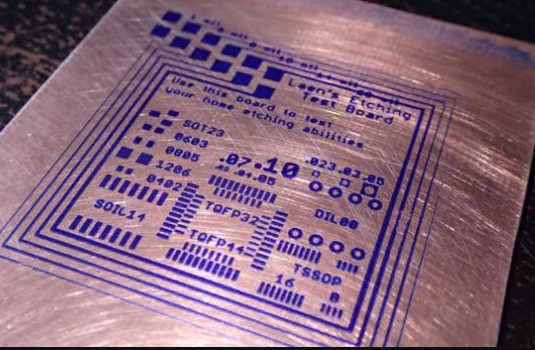
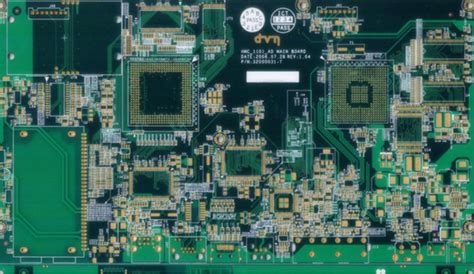
Circuit board assembly, often abbreviated as pcba, is a fundamental process in electronics that involves the integration of various components onto a printed circuit board (PCB). This process is vital for creating reliable electronic devices that power our everyday lives. To begin with, it’s essential to understand the basic components involved in pcb assembly. A standard circuit board may include resistors, capacitors, diodes, and integrated circuits, among others.
The assembly technique can vary depending on the complexity of the project and the required functionality of the circuit. For instance, many hobbyists prefer hand soldering, which allows for precise control over each connection and is suitable for simpler projects. In contrast, automated surface mount technology (SMT) is often used in mass production due to its efficiency and ability to handle more intricate designs.
To help visualize this process, here’s a simple table outlining common components used in pcb assembly:
| Component | Function |
|---|---|
| Resistor | Limits flow of electric current |
| Capacitor | Stores electrical energy |
| Diode | Allows current to flow in one direction |
| Integrated Circuit | Combines multiple functions into one unit |
Understanding these basics not only aids in creating effective electronic devices but also helps avoid common pitfalls during assembly. For those venturing into project-based assembly, planning your layout meticulously will pay off significantly.
“A well-designed PCB layout can reduce signal interference and improve overall performance.”
Approaching your pcb assembly projects with this foundational knowledge will set you on a path toward mastering more advanced techniques and achieving optimal results in your electronic endeavors.
Essential Tools for Circuit Board Assembly: A Comprehensive List
To effectively navigate the world of pcb assembly, having the right essential tools at your disposal can make a significant difference in the ease and quality of your projects. The cornerstone of pcba is often a high-quality soldering iron, which is indispensable for ensuring strong and reliable connections between components on the circuit board. Alongside this, a good set of tweezers is crucial for handling small parts with precision, allowing for careful placement and adjustment during the assembly process. Additionally, a reliable multimeter is invaluable for checking connections and ensuring that your circuit board assembly is functioning as intended.
You’ll also want to invest in a suitable work surface that minimizes static electricity; an anti-static mat can protect sensitive components from damage during assembly. For more complex projects, consider utilizing a PCB holder to securely mount your board as you work on it, enhancing both safety and accuracy. Lastly, don’t overlook the importance of well-organized storage solutions for small parts and tools; having everything at hand will streamline your workflow significantly.
By equipping yourself with these tools, you lay a robust foundation for mastering the art of circuit board assembly, allowing you to tackle projects with confidence and skill. With each tool serving its unique purpose, you are better prepared to deliver efficient, high-quality circuit boards that meet your project’s requirements.
Step-by-Step Process of Assembling Circuit Boards
Assembling circuit boards, or pcb assembly, is a meticulous process that requires attention to detail and an understanding of fundamental principles. The first step involves preparing the printed circuit board (PCB) itself, ensuring that it is clean and free from any debris or contaminants. Next, you will need to gather the necessary components, such as resistors, capacitors, and integrated circuits, confirming that each one meets the specified requirements for your project.
Once you have everything ready, it’s essential to have the soldering tools at hand. The soldering process can be approached in several ways—either through hand soldering for smaller projects or by utilizing techniques like reflow soldering for larger-scale pcb assembly tasks. Whichever method you choose, the goal is to create strong connections between components and the PCB through careful heating and the application of solder.
After attaching all components, a thorough visual inspection should be conducted to check for any misaligned parts or cold joints. This step is crucial in modern pcba (printed circuit board assembly) processes as it helps identify potential issues before powering up the board. If everything looks good, it’s time to test your assembly by connecting it to a power source and using diagnostic tools to verify functionality.
Ultimately, mastering these steps not only enhances your skills but also ensures that you produce efficient and reliable circuit boards ready for a variety of applications.
Common Mistakes in Circuit Board Assembly and How to Avoid Them
When it comes to pcb assembly, numerous common mistakes can hinder the success of your project. One frequent error is improper component placement. This can lead to misalignment or even damage to the components themselves. Ensuring that each component is placed in its designated spot according to the pcba design is crucial. Another prevalent issue is the incorrect soldering technique. Using too much solder can create bridges between pads, while too little may result in cold joints that fail over time. It’s essential to maintain proper soldering practices to enhance the reliability of your pcb assembly.
Additionally, neglecting proper cleaning after soldering can leave flux residues that may interfere with the circuit’s operation. Therefore, incorporating a cleaning step post-assembly can prevent future issues and extend the lifespan of your circuits. Furthermore, failing to conduct thorough testing post-assembly can lead to undetected faults. Implementing a robust testing protocol will help identify issues before deployment and ensure that each assembled board meets expected performance standards.
Lastly, overlooking component specifications can result in using inappropriate parts for your project, leading to inefficiencies or failures within the circuit. Always refer back to your design documentation for specific details about required components for successful pcba execution. By recognizing these common mistakes and integrating preventive measures into your workflow, you’ll significantly improve your success in circuit board assembly projects.
Advanced Techniques for Enhancing Circuit Board Reliability
When it comes to pcb assembly, enhancing the reliability of your circuit boards is paramount. There are several advanced techniques that can greatly improve the durability and performance of your pcba. First and foremost, understanding the importance of appropriate material selection is crucial. Utilizing high-quality substrates, such as FR-4 or polyimide, can provide better thermal management and resistance to environmental factors. Additionally, implementing via-in-pad technology helps in reducing the chances of solder wicking, which could lead to open connections.
Another effective method is the use of conformal coatings. These coatings offer protection against moisture, dust, and chemicals, ensuring that the circuit components remain functional in various conditions. Furthermore, meticulous attention should be paid to soldering techniques. Using proper temperature control during soldering not only enhances joint integrity but also prevents thermal fatigue over time.
Incorporating redundant pathways can also be an advanced technique for enhancing reliability; it ensures that if one path fails, others will take over to maintain functionality. Regularly testing your pcba during assembly for integrity issues through techniques like Automated Optical Inspection (AOI) can identify problems early in the process.
By employing these advanced strategies—including material quality, protective coatings, refined soldering practices, and redundancy—you will significantly bolster the reliability of your circuit boards, leading to more robust and efficient designs in your upcoming projects.
Troubleshooting Your Circuit Board Assembly Projects
When diving into the realm of pcb assembly, encountering problems is not uncommon, and knowing how to tackle these issues is essential for successful project completion. One of the first steps in troubleshooting is to meticulously inspect the pcba for any visible signs of damage, such as burnt components or poor solder joints. A common error in circuit board assembly is the misalignment of components, which can lead to functional failures; therefore, double-checking the placement against your design specifications is crucial. Power issues often plague assembled boards, so ensuring that connections are secure and that voltage inputs match design requirements can eliminate many headaches. For electronic signals that aren’t functioning as intended, using an oscilloscope or a multimeter can help diagnose connectivity problems and confirm that signals are passing through as they should. Additionally, maintaining a detailed log of any changes made during the troubleshooting process can provide insight into recurring issues and guide future circuit board assembly projects towards smoother execution. By understanding common pitfalls and how to resolve them, you’ll enhance not only the reliability of your current pcb assembly work but also build valuable skills for future endeavors.
Safety Precautions in Circuit Board Assembly: Best Practices
When engaging in pcb assembly, adhering to safety precautions is crucial to ensure both personal safety and the integrity of the pcba process. One of the first steps is to wear appropriate personal protective equipment (PPE), such as safety goggles and gloves, to shield against potential hazards like solder splashes or harmful fumes. Working in a well-ventilated area is essential, particularly when using soldering irons or other components that may emit volatile substances. It’s equally important to keep your work environment organized; a clutter-free workspace minimizes the risk of accidents, such as dropping fragile components or misplacing essential tools.
Moreover, always be mindful of static electricity, which can damage sensitive components on your circuit boards. Utilizing anti-static mats and wearing grounded wrist straps can effectively mitigate this risk. Additionally, be cautious when handling hot equipment; waiting for soldering tools to cool down before placing them down can prevent burns or accidental ignition of flammable materials nearby. By systematically following these best practices, anyone can enhance their safety while mastering the intricate art of circuit board assembly and create reliable circuits for their projects.
Real-World Applications: Using Your Assembled Circuit Boards
Once you have mastered pcb assembly and are comfortable with the intricacies of the pcba process, it’s time to explore the myriad applications of your assembled circuit boards. The versatility of circuit boards means that they can be integrated into countless devices across various sectors. For instance, in the consumer electronics realm, your assembled circuit boards can find a home in smartphones, tablets, and gaming consoles, providing vital connectivity and functionality. In automotive applications, these boards play critical roles in everything from engine control units to infotainment systems, enhancing both performance and safety features.
Moreover, the world of robotics has a growing demand for reliable pcba solutions that help in creating automated systems with precision. Medical devices also benefit greatly from tailored pcb assembly, allowing for innovations such as portable diagnostic equipment or advanced imaging systems that require compact yet powerful circuit boards.
In industrial sectors, as automation takes precedence, custom circuit boards become essential components of machinery control systems and monitoring devices. By understanding these real-world applications, you can tailor your design processes to meet specific industry demands and better prepare yourself to leverage your skills in pcb assembly for practical solutions that have real impact on daily life and technology advancement.
Conclusion
In summary, mastering pcb assembly is a valuable skill that can greatly enhance your ability to create functional and reliable electronic devices. This guide has provided you with essential insights into the pcba process, breaking it down into manageable steps and highlighting the importance of selecting the right tools. By avoiding common mistakes and implementing advanced techniques, you can improve the overall quality of your projects. Troubleshooting is an integral part of circuit board assembly, as it allows you to identify and rectify issues that may arise during the process. Remember to prioritize safety precautions when working with electronic components to ensure a secure and efficient working environment. With the knowledge gained from this guide, you are better equipped to tackle your own circuit board assembly projects confidently, paving the way for successful real-world applications of your assembled circuit boards.
FAQs
What is PCB assembly?
PCB assembly (PCBA) refers to the process of soldering electronic components onto a printed circuit board (PCB) to create a functional electronic device.
What are the steps in the PCB assembly process?
The steps typically include designing the PCB layout, sourcing components, placing components on the board, soldering them into place, and testing the assembled board for functionality.
What tools are essential for PCB assembly?
Essential tools include a soldering iron, solder, tweezers, a multimeter for testing, and sometimes an automated pick-and-place machine for high-volume production.
How can I avoid common mistakes in PCB assembly?
Thoroughly review your schematic before starting assembly, double-check component placements against your design files, and ensure proper soldering techniques to minimize errors.
Can I assemble a PCB at home?
Yes, many hobbyists assemble PCBs at home using basic tools and techniques. It’s a great way to learn and can be quite rewarding!
What should I do if I encounter issues during assembly?
Start by inspecting your work for any misplaced components or bad solder joints. Utilize your multimeter for troubleshooting electrical connections.