Teach you how to make photosensitive circuit boards step by step
Many electronics enthusiasts like to do some electronic production by themselves. When making, they often spend a lot of time on the circuit board. Most of them use universal boards, but universal boards can only be built with wires, and cannot be routed according to the PCB design they have designed. The things they make lack beauty and are prone to short circuits. In this case, you should consider using photosensitive circuit boards to make circuit boards. They can completely follow the PCB routing they have designed, can make a minimum line width of 10mil, and sometimes they are used to check errors in PCB design. Let’s take a look at how to use photosensitive boards to make circuit boards.
1.Prepare your circuit diagram:
Don’t draw the lines too thin for the first time. It’s best to use a little chipboard to make it and estimate the exposure time yourself. Below I use my previous PCB to do experiments:
2.Print it out with your printer:
The printed drawings must be the most beautiful you think. If you use inkjet, please use expensive thin photo paper (of course not as thick as photos, haha). My paper is very thin. After printing, observe carefully, sometimes there are broken lines. That’s right, as long as you can see the broken line with your eyes, the photosensitive board will do the same. Even if there is a little problem, you have to reprint it. It is better to lose a piece of paper than a board.
Some people like to use translucent sulfuric acid paper, but it is not good. The main printing effect of sulfuric acid paper is not good. The ink sometimes spreads, and the original 1MM line becomes 1.2MM, which will cause you trouble. Of course, if your line spacing is 2-3MM wide, there is no problem. If you have a very expensive laser printer… Then just ignore what I said above!
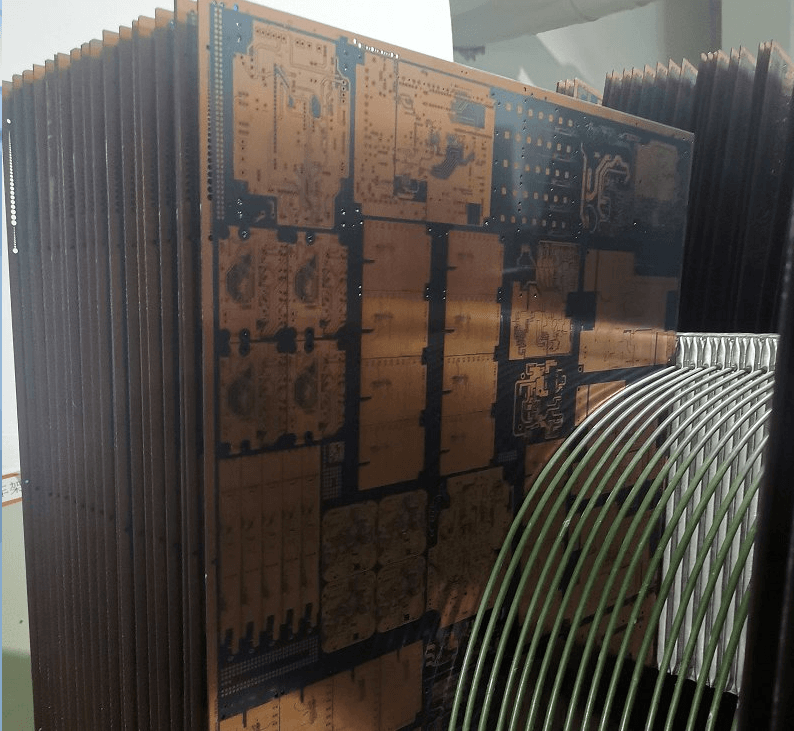
3.Photosensitive board. Many people asked me about the price.
In fact, in Guangzhou, you can buy a 1015CM board for 9 yuan, which is enough. The largest board I have made now is 1015CM, which can be used for many components, and I have started to use patch now:) If you buy a good quality one, it will cost 13 yuan. Generally, most photosensitive plates are made on one side, but there are also double-sided ones for sale.
However, it takes some skills to make double-sided plates:)
It says that it takes 8 minutes to make the plates sensitive. If you use white paper to cover the plates like I did, you will be in trouble in 8 minutes. The 8 minutes written by others is for transparent film. For my white paper, 3 8 minutes is about right.
4.Prepare photosensitive equipment.
This is my photosensitive equipment. It is very ordinary. You can use high-power fluorescent lamps. However, if you use fluorescent lamps, please choose the Chinese brand: Foshan Lighting. If you have sufficient funds, you can buy a few more and take photos side by side. This will increase the success rate. If you are as poor as me and can only buy one Foshan Lighting, you must move the lamp regularly during the photosensitive process to ensure uniform photosensitive.
There is also glass for making photosensitive plates, which is used to press the plates and printing paper. I picked up the glass from the street, but you can also buy it. Buy the thickest one. The thicker the better. Because the thicker the heavier, the tighter the pressure, and it also prevents the glass from shifting due to accidental contact. In short, it should be heavy. Note, do not use frosted glass.
5.Primer
What is primer? First, stick the back of your PCB paper with transparent tape, remove the protective layer of the photosensitive board, and then cover the back of the PCB paper with the photosensitive surface of the photosensitive board, and stick it with transparent tape. It is best not to do this step under strong light, but you don’t have to rush, for fear that the photosensitive board will die in the light. In fact, the photosensitive layer is very stupid:)
There is no photo of this step, haha, everyone says that the operation should be fast, do you still use flash to take pictures? You have to compensate me for the board~~~~
6.Start the exposure.
Wow. . Foshan Lighting is awesome, long live domestic products~Note that if your lamp is too small – like mine, it is best to move the bulb frequently to make it evenly exposed to light. Don’t touch the glass while moving:) It will take about 20 minutes. Don’t worry about exposure for too long, just too short.
7.Prepare the developer powder, which costs 1 yuan.
Use 400ml of water for development. When the photosensitive plate is exposed, soak it in water for 1 minute, and the lines will come out.
Someone asked me how much 400ml of water is. Actually, I didn’t know until I found this.
Note that in order to save money, I opened a pack of powder at a time, but when you pack it, pour a little when you use it. Never use the used developer water again, even if it was used a few hours ago.
8.Development equipment… A mooncake box… Mid-Autumn Festival is coming soon, don’t ask me where to find a container.
It is best not to carry out the development process under strong light. A classmate used to open his Foshan Lighting to observe this great development process.
9.The development process is the most exciting. Successful development basically means success.
Don’t be too impatient when developing. If some lines are not fully exposed, or the copper part is not fully exposed, please wait a while. Experience tells me: as long as it is not over-exposed, your board will not have any problems if you soak it in the developing water for half an hour (although the correct way is to soak it for 1-2 minutes). After the development, it is obvious that the exposed parts are exposed, and the unexposed parts are not exposed.
10.After that, of course, it is corroded. Generally, it is not necessary to use high temperature to corrode it so seriously.
Mine is just a small bucket. Note that the board is facing down at the liquid surface, and the corrosion speed is the fastest (see the picture). Some people always don’t believe this sentence and always sink it to the bottom. Haha, this is your business. In addition, put 5-6 iron nails in the corrosive water, which will speed up the speed, super speed up. Don’t believe it? Forget it.
If you corrode like me, the whole process does not require human intervention. Remember: liquid surface, iron nails. Come and see after 10 minutes, haha, it’s completely done.
Corrosion just waits for the time you should wait. Don’t move the board during the rest of the time, let alone use any tweezers to move it, not even bamboo ones. Because the photosensitive layer will be very fragile after being soaked in corrosive water, it will become smaller when you touch it. I have been hurt before, and several wires were broken. It was all because the photosensitive layer was scraped off by tweezers and then corroded.


