How to Solder PCB Circuit Boards: A Comprehensive Guide
Soldering is a fundamental skill in electronics, essential for assembling and repairing printed circuit boards (PCBs). Whether you’re a hobbyist, a student, or a professional, mastering the art of soldering is crucial for creating reliable and durable electronic connections. This guide will walk you through the process of soldering a PCB circuit board, covering the tools, techniques, and best practices to ensure success.
1. Introduction to Soldering and PCBs
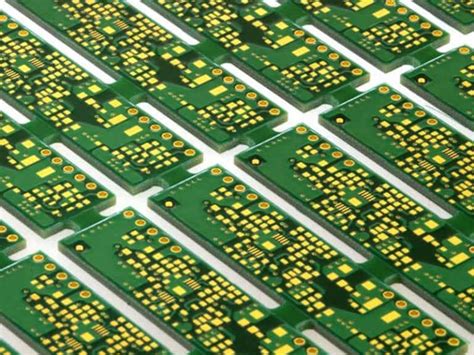
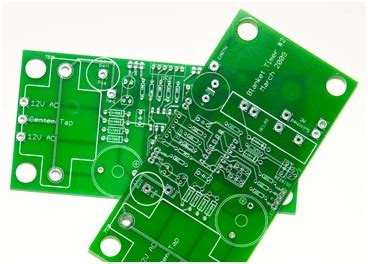
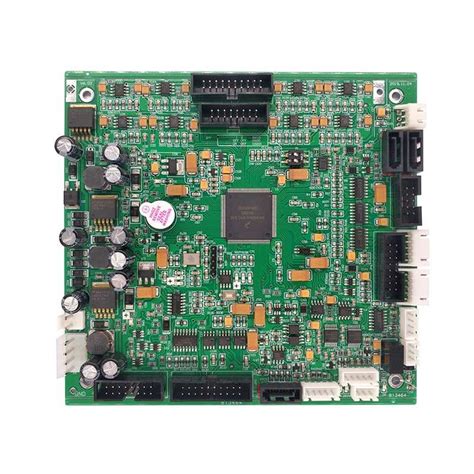
Soldering is the process of joining two or more metal components by melting a filler metal (solder) into the joint. In electronics, soldering is used to create electrical connections between components and the conductive traces on a PCB. A PCB is a flat board made of insulating material (usually fiberglass) with conductive pathways etched or printed onto its surface. These pathways connect various electronic components, such as resistors, capacitors, and integrated circuits, to form a functional circuit.
Proper soldering ensures strong electrical connections and prevents issues like short circuits, cold joints, or component failure. Poor soldering, on the other hand, can lead to unreliable circuits and even damage to the components or the PCB.
2. Tools and Materials Needed
Before you begin soldering, gather the necessary tools and materials:
- Soldering Iron: A temperature-controlled soldering iron with a fine tip is ideal for PCB work. A wattage range of 15-40 watts is suitable for most tasks.
- Solder: Use rosin-core solder with a diameter of 0.5mm to 1mm for PCB soldering. The rosin core acts as a flux, helping the solder flow and adhere to the components.
- Flux: Additional flux (liquid or paste) can improve solder flow and create cleaner joints.
- PCB and Components: The circuit board and the electronic components you plan to solder.
- Soldering Stand: A stand to hold the soldering iron when not in use.
- Sponge or Brass Wool: For cleaning the soldering iron tip.
- Tweezers: To hold small components in place.
- Wire Cutters: For trimming excess leads from components.
- Magnifying Glass or Loupe: To inspect solder joints for quality.
- Desoldering Tools: Such as a desoldering pump or braid, for correcting mistakes.
- Safety Gear: Safety glasses and a well-ventilated workspace to protect against fumes.

3. Preparing the PCB and Components
Before soldering, prepare the PCB and components:
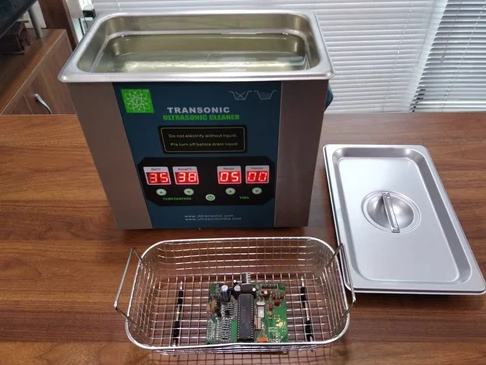
- Clean the PCB: Ensure the PCB is free of dust, grease, or oxidation. Use isopropyl alcohol and a soft brush if necessary.
- Inspect Components: Check components for damage or defects. Ensure their leads are straight and clean.
- Insert Components: Place the components into their designated holes on the PCB. For through-hole components, bend the leads slightly to hold them in place.
- Secure the PCB: Use a PCB holder or clamp to keep the board steady during soldering.
4. Soldering Techniques
4.1. Tinning the Soldering Iron Tip
Before starting, “tin” the soldering iron tip by coating it with a thin layer of solder. This improves heat transfer and prevents oxidation. Wipe the tip on a damp sponge or brass wool to remove excess solder.
4.2. Soldering Through-Hole Components
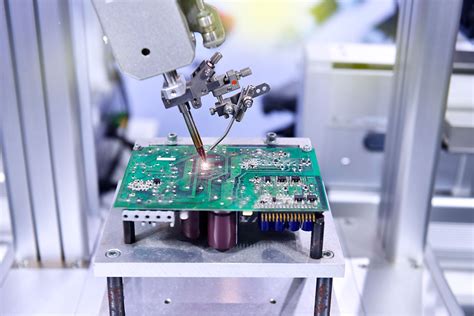
- Heat the Joint: Touch the soldering iron tip to the component lead and the PCB pad simultaneously. Hold it for 1-2 seconds to heat the joint.
- Apply Solder: Touch the solder wire to the joint, not the iron. The solder should melt and flow smoothly around the lead and pad.
- Remove the Solder and Iron: Once the joint is covered with solder, remove the solder wire first, followed by the iron. Allow the joint to cool naturally.
- Inspect the Joint: A good solder joint should be shiny, smooth, and cone-shaped. Dull or lumpy joints may indicate a cold solder joint, which requires rework.
4.3. Soldering Surface-Mount Components
Surface-mount technology (SMT) components are smaller and require more precision:
- Apply Flux: Use a small amount of flux on the PCB pads.
- Position the Component: Use tweezers to place the component on the pads.
- Tack One Pad: Solder one pad to hold the component in place.
- Solder Remaining Pads: Solder the remaining pads, ensuring the component is aligned correctly.
- Inspect and Clean: Check for bridges or insufficient solder, and clean any excess flux.
4.4. Using Flux
Flux is essential for removing oxidation and improving solder flow. Apply a small amount to the joint before soldering, especially for surface-mount components or when working with older PCBs.
5. Common Soldering Mistakes and How to Avoid Them
- Cold Joints: Caused by insufficient heat or movement during cooling. Ensure the joint is heated properly and remains still until the solder solidifies.
- Solder Bridges: Occur when solder connects two adjacent pads or traces. Use a desoldering braid to remove excess solder.
- Insufficient Solder: Results in weak connections. Apply enough solder to cover the joint completely.
- Overheating: Can damage components or lift PCB traces. Use the correct temperature and avoid prolonged heating.
- Dirty Tips: A dirty or oxidized tip reduces heat transfer. Clean and tin the tip regularly.
6. Desoldering Techniques
Mistakes happen, and desoldering is often necessary:
- Desoldering Pump: Heat the joint and use the pump to suck up the molten solder.
- Desoldering Braid: Place the braid over the joint and heat it with the iron. The braid will absorb the solder.
- Flux and Reheat: Apply flux and reheat the joint to remove excess solder.
7. Safety Tip
- Ventilation: Work in a well-ventilated area or use a fume extractor to avoid inhaling solder fumes.
- Eye Protection: Wear safety glasses to protect against splashes of molten solder.
- Heat Management: Be cautious with the hot soldering iron. Always return it to the stand when not in use.
- ESD Protection: Use an anti-static wrist strap when handling sensitive components to prevent electrostatic discharge.
8. Post-Soldering Inspection and Testing
After soldering, inspect the PCB for defects:
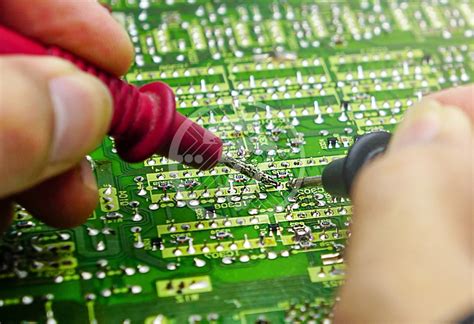
- Visual Inspection: Use a magnifying glass to check for cold joints, bridges, or insufficient solder.
- Continuity Test: Use a multimeter to verify electrical connections.
- Functional Test: Power up the circuit and test its functionality.
9. Advanced Tips for Professional Results
- Use a Temperature-Controlled Iron: Adjust the temperature based on the component and solder type.
- Practice Good Hygiene: Keep your workspace clean and organized.
- Invest in Quality Tools: High-quality tools make soldering easier and more precise.
- Learn from Mistakes: Analyze and correct errors to improve your skills.
10. Conclusion
Soldering a PCB circuit board is a skill that improves with practice and attention to detail. By following the steps outlined in this guide, you can create strong, reliable solder joints and assemble functional electronic circuits. Remember to prioritize safety, use the right tools, and take your time to ensure quality work. Whether you’re building a simple project or a complex device, mastering soldering will open up a world of possibilities in electronics.
With patience and practice, you’ll soon be able to solder PCBs with confidence and precision, bringing your electronic designs to life. Happy soldering!


